Taking care of your garden is crucial if you want to have a healthy outdoor space. But how can you ensure you can clean your garden tools well, especially at the end of the gardening season?
While it may seem like a tedious task, proper cleaning and maintenance of gardening tools are essential to getting the most out of them season after season. However, if you are not sure how to do it right, this guide will walk you through cleaning your garden tools in just a few steps.
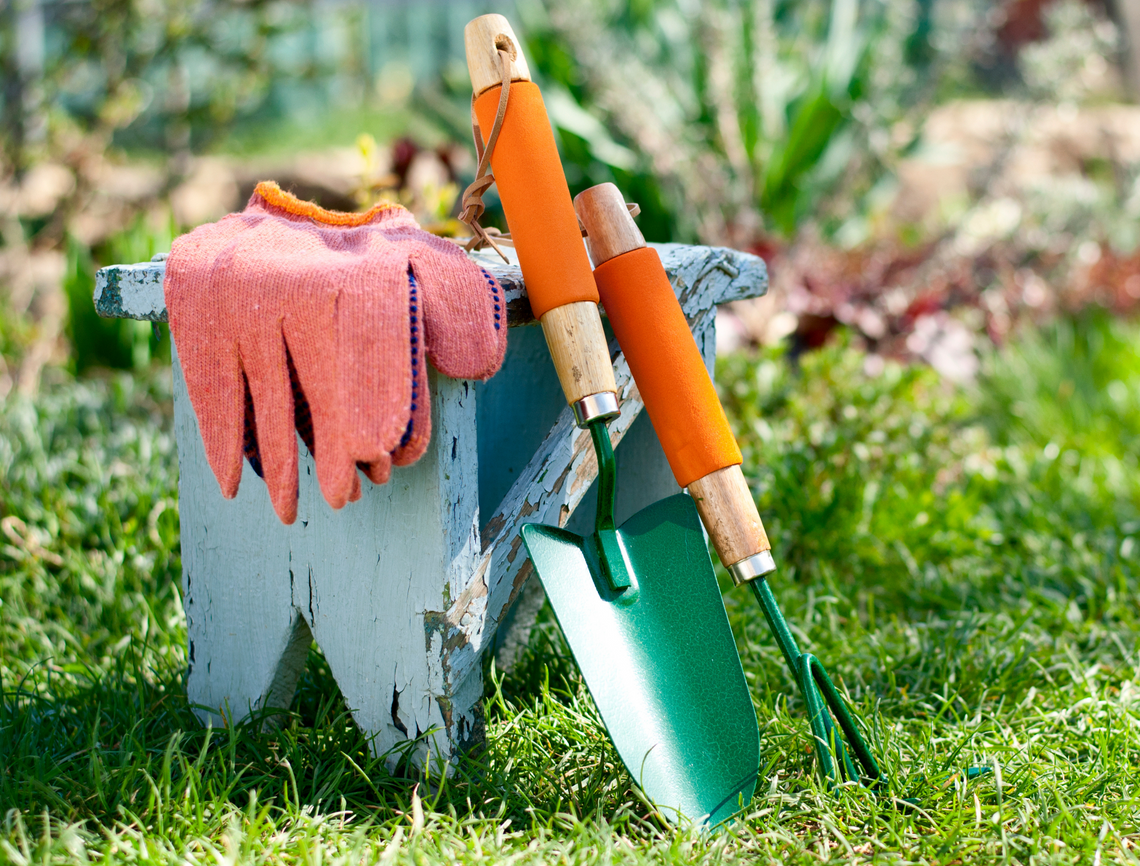
What You’ll Need

Image credits: By jeffwasserman via Canva
Here is what you will need to clean your gardening tools.
- Garden hose
- Baking soda (optional)
- Vinegar (optional)
- Oil of your choice
- Cloth
- Gloves
- Sandpaper
- Sharpener
Step-By-Step Guide for Cleaning Your Garden Tools
Step One - Clean Off Any Dirt

Image credits: 9436196 via Pixabay
The first step is to give your outdoor tools a quick clean-up with the garden hose! Start by blasting off the bulk of dirt and grime. Focus on hitting the cutting ends where the soil and grime are likely to be the worst.
Use this as an opportunity to inspect for rust, chips, or any other damage that may have occurred throughout the season.
Step Two - Soak to Remove Any Excess Dirt

Image credits: Pepijn van Bakel via Shutterstock
Once you have gotten most of the dirt off, it’s time to soak your garden tools in a bucket or basin of warm soapy water. It will help loosen any stubborn dirt and debris that may be stuck on the surface. Allow them to soak for at least 15 to 20 minutes before scrubbing off the remaining dirt with a brush.
For those caked-on stains that are too stubborn for soap, it’s time to take a more serious approach. Rub the tools in a hot water and baking soda solution (1:1). Let them sit for at least 10 minutes, then use a non-abrasive scrubbing brush to help break down the dirt and grime.
Step Three - Disinfect with A Bleach Solution

Image credits: mirti via Shutterstock
Once your tools are clean and rinsed, it’s time to disinfect them with a bleach solution. It might not be the most pleasant-smelling process, but it will go a long way in keeping your gardening tools safe and ready for next season.
Mix nine cups of hot water with one cup of chlorine bleach in a bucket. Make you fully submerge the working ends of your tools by adding more bleach/water solution as needed. Let them sit in this solution for at least 10 minutes before draining the bucket (somewhere other than your lawn or plants) and wiping down each tool with a clean cloth. This will help keep any damaging molds, mildews, and rust from taking hold of your tools and protect them from spreading diseases from season to season.
Vinegar is also a great eco-friendly alternative for cleaning and sanitizing your garden tools. Not only does it have fewer harsh chemicals than bleach, but it’s also less likely to harm kids or pets who may come into contact with the solution—or with freshly washed tools.
To get started, fill a bucket with vinegar at full strength or mix 50/50 with water and submerge the working ends of your gardening tools.
Step Four - Rust Removal

Image credits: Kaushik K S via Shutterstock
No matter how careful you are with your tools, it’s inevitable that over time, some rust will form on them. To prevent this from eating away at your tools and reducing their life span, removing the rust is imperative.
There are a few ways to do this, depending on the depth and severity of the rust. For light or surface rust, use a metal brush or steel wool along with baking soda or vinegar for scrubbing away any residue. For deeper rust spots, an abrasive such as sandpaper can rub down these areas until all the rusty particles come off.
Once you have removed all the rust, wash away any loosened rust particles with water and dry your garden tool completely before moving on to other processes. Leaving it wet could invite more rusting. A few minutes of drying time will ensure that your tool stays corrosion-free for longer.
Step Five - Sharpen Your Tools

Image credits: New Africa via Shutterstock
One of the most crucial steps in keeping your garden tools in top shape is sharpening them regularly. To begin, wipe the blade with oil. You can use mineral oil, machine oil, penetrating oil, or vegetable oil.
For large garden tools like hoes, shovels, and spades, use a flat metal file on both edges of the working edge. Work the file at a shallow angle, pulling it in one direction until you’ve reached the preferred sharpness.
Smaller tools require a more precise approach. Use a sharpening stone, small file, or sharpener that fits the blade perfectly, and follow the bevel and direction of the blade while only filing down on the cutting side -- never on both sides.
Once you’re done sharpening, finish with a light wipe of your oiled cloth to remove any remaining metal filings that could cause dullness.
Step Six - Clean the Handles

Image credits: me2724 via Shutterstock
When you’ve given your tool heads a good clean and disinfection, don’t forget about the handles! Cleaning your handle will help keep them in good shape for longer and prevent splinters. Simply take a cloth and wipe the handle with whatever cleaner you use.
For metal-handled tools, you can use vintage and steel wool for a light going-over to prevent any rust that might be developing. Pay special attention to joints where the handles and heads come together, as these are most susceptible to corrosion. For wooden-handled garden tools, use a piece of fine grit sandpaper or fine steel wool to buff out any splintering or rough spots.
Step Seven - Oil the Surfaces

Image credits: logoboom via Shutterstock
The last step in your pre-winter gardening checklist is to oil the surfaces of all your metal tools. It will help keep them in excellent form and prevent rust from forming.
Grab a rag, dab it in light oil (vegetable oil is preferred), and give each tool a good wipe-down. It includes anything with a metal surface. Get both the front and back of each tool so rust won’t have any chance of forming or coming back. Don’t go overboard. Just apply enough oil so that everything has a nice protective layer on it.
Clean Up Time!
Now that you know how to properly maintain your garden tools, it’s time to get out there and start cleaning! With the right care, your garden tools will last longer and help you keep your garden looking great. So don’t forget to give them some love every once in a while.
Leave a comment below and let everyone know how you like to clean your garden tools. Share this post with your family and friends to help them keep their gardens looking beautiful too!