A beautiful garden starts with the soil. Many folks who declare they’re ‘bad’ at gardening could be focusing on the wrong thing. For a luscious garden, we should focus on feeding the soil, not the plants.
This might seem strange, but at the end of the day, it’s the soil that’s looking after your plants. So it makes sense to cultivate healthy soil in order to cultivate healthy plants.
So if you have an old garden bed that just won’t grow anything, it’s probably time to rejuvenate it from the soil up. Keep reading to learn all about how to reset your garden for years of a beautiful production.
Materials Needed
- Rototiller
- Cardboard
- Compost
- Aged manure (horse, cow)
- Organic mulch
- Sprinkler
- Garden waste
- Vermicompost
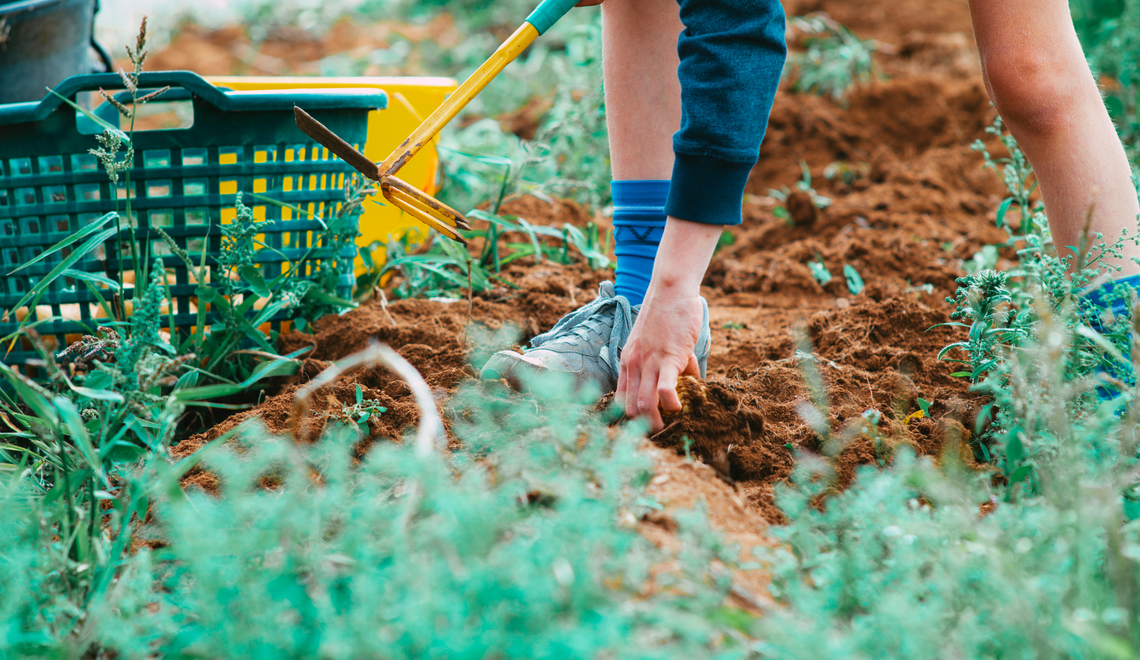
Step One: Observe

Image credits: Abhishek Pawar via Unsplash
First things first, you need to assess what you’re up against. Is your soil overly compacted? Completely bare? Void of soil life? Note done as many things as you can notice about the state of the garden bed. It will come in handy later and help you avoid making the same mistakes.
Step Two: Soften The Ground (For Compacted Soils)

Image credits: Methi SOMÇAĞ via Unsplash
Next, you need to be able to break up the surface of the soil. To make your life easier, set up a sprinkler in the target area. Set it to run a few times over the day. This should soften up the soil enough to make the next step easier.
Step Three: Till

Image credits: Homeandgardners via Creative Commons
This is one of the few times that tilling your garden is a good idea. Choose your favorite tilling machine, such as a rototiller. A garden fork or similar tool could also work. Break up the top few inches of soil, as deep as you can reasonably manage.
If using a rototiller, till the soil in both directions in a crosshatch pattern.
Step Four: Sprinkle

Image credits: Kseniia Ilinykh via Unsplash
Once the soil is nice and broken up, set up your sprinkler again to soak the soil. This will allow the water to penetrate deeply into the soil, helping to kickstart the bloom of life your soil is about to experience.
Step Five: Sheet Mulch

Image credits: fishermansdaughter via Creative Commons
Sheet mulching is different from regular mulching. The method you’re going to use involves raw cardboard (that means no plastic coating, no tape, no staples, just regular brown cardboard).
Lay down sheets of cardboard, making sure to overlap at the joins. Put down at least two layers, but you could put down more if you wish. What this does is it creates a barrier that weeds will have a hard time penetrating. It also covers the soil to give the soil life a chance to bounce back. Unfortunately, it looks so messy, but it'll be buried soon.
It will break down over time as your new garden becomes rejuvenated. Earthworms seem to love the corrugated cardboard layer in the middle of most cardboards. Make sure you water the cardboard thoroughly after laying it down. Alternatively, you could soak it in water beforehand.
Step Six: Start With Garden Waste

Image credits: karenblakeman via Creative Commons
The next step is to add some layers on top of this cardboard. Plants can’t grow on cardboard, so you need to add some materials that plants can break down. Start off with any garden waste you may have. Any prunings, grass clippings, leaves, whatever you have on hand.
Even large branches can be part of the first layer, as long as they’re chopped into shorter pieces. Having thicker, woody material at the bottom of your garden bed will increase drainage.
Step Seven: Add Manure

Image credits: Efraimstochter via Pixabay
If you have access to livestock manure, this would be a good place to use it. Livestock manure is filled with all sorts of beneficial bacteria and microorganisms that are breaking down the waste. The exact type of thing you want in your garden bed. Many plants have a hard time growing in fresh manure, so either add fresh manure to the bottom of your layers, or use aged manure.
Step Eight: Add Vermicompost

Image credits: Oregon State University via Creative Commons
If you have access to vermicompost, otherwise known as worm castings, you want to add this to your layers. Vermicompost is full of all sorts of microorganisms that you want in your garden.
It’s also full of composting worm eggs. Compost worms are different from earthworms. Earthworms feed on the castings that compost worms produce, so you’re turning on the “Open” sign for the earthworm buffet.
Compost worms are also very efficient at breaking down organic waste, which is what your new garden bed is filled with.
Step Nine: Keep Layering

Image credits: furtwangl via Creative Commons
Obviously, the more layers you add, the higher the garden bed is going to be. If you don’t want a raised bed, only do a few layers. If you want a raised bed, you can add as many layers as you like.
Remember that as all these layers decompose, the level of the bed will drop, so take that into account. As you get closer to the top layer, only use materials that plants can actually grow in, like compost. It can be helpful to water each layer.
Some sources are very particular about the sequencing of the layers. Stating that you should alternate between ‘green’ materials (high nitrogen materials like grass clippings, comfrey, etc.) and ‘brown’ materials (high carbon materials like dried organic matter, shredded paper, etc.).
While this can speed up the decomposition and get things going more quickly, it’s not going to damage anything if you mix up the layers. So don’t stress too much about that.
Step Ten: Let Nature Do Its Work

Image credits: Faith Crabtree via Unsplash
What all of this does is feeds the soil that you tilled and watered at the beginning of this process. As all of the above materials break down, microorganisms and all sorts of bacteria from these layered materials will move down towards the soil whenever it rains, or you water the area.
The soil life, that was exposed when you tilled the garden, will be coming up from below to join in on the feeding frenzy. Their population numbers will be small at to start, but they will quickly multiply with this huge source of food at their disposal.
Dig It?
The result of all of this layering is soil that is bursting with life. Instead of having to add nutrients to keep your plants alive, you can simply keep adding organic matter to feed the soil. Your healthy soil will, in turn, keep your plants healthy for years to come. And that, gardeners, is how you rejuvenate an old garden from the soil up.