The Monstera deliciosa plant, native to Central American rainforests, is also widely recognized as the "split-leaf philodendron." The plant packs a unique "wow" element with ridged leaves that sets it apart from other common greens. Easy-to-grow, it's no wonder this towering evergreen can be spotted across well-designed spaces and Pinterest inspo-boards. A fun fact - The plant produces a pineapple-like fruit in its native habitat, hence the word "deliciosa" in its name.
The beautiful plant is characterized by its stunning foliage and gigantic heart-shaped leaves. Despite its beauty, you'll be surprised to know it doesn't demand immense care. An important aspect however is repotting your monstera. Repotting the plant is the perfect way to allow it room to grow and provide it with refreshed soil nutrients. Keep reading to learn when and how to repot your monstera deliciosa -- You're just a few steps away from enjoying a thriving well repotted plant!
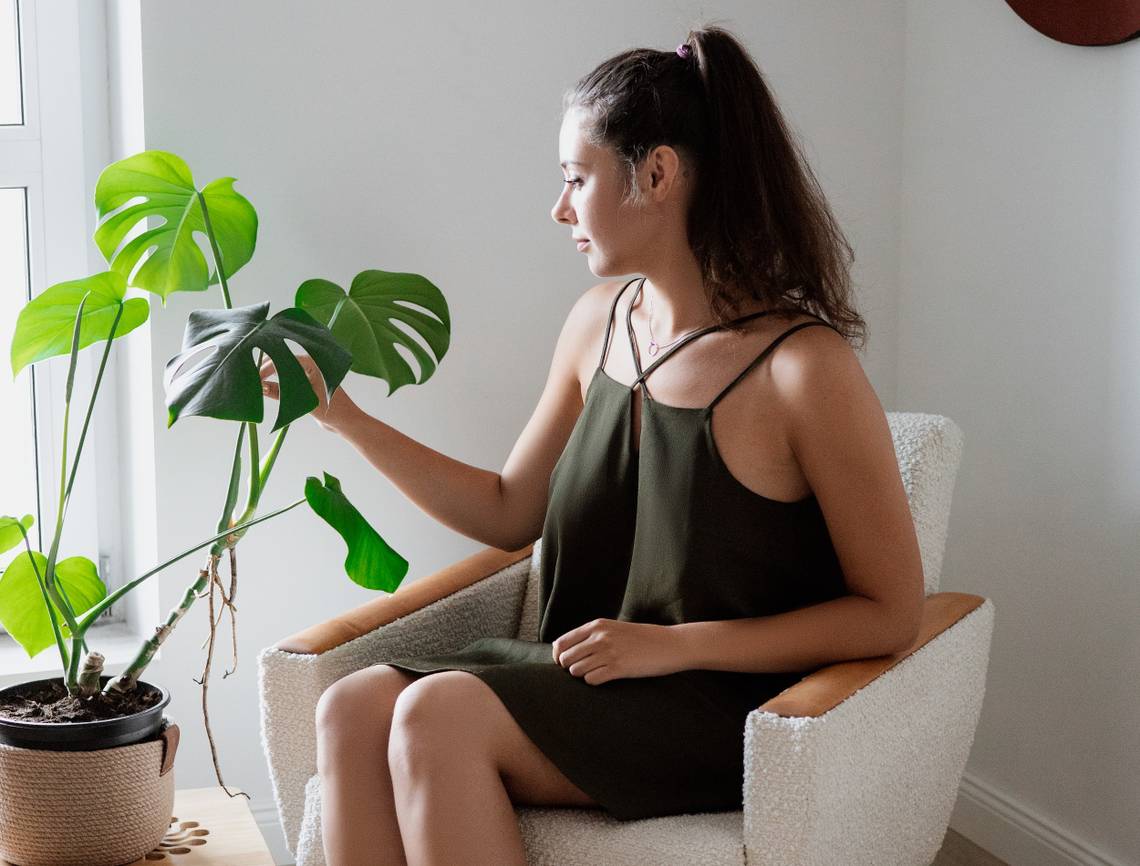
Why and When to Repot Your Monstera deliciosa

Image credits: Huy Phan via Pexels
Repotting allows the roots to spread and flourish. However, the plant does prefer to be slightly rootbound so do not be quick to conclude the shift.
Sprouting Roots - When the roots sprout from the drainage holes and the top of the pot, you'll know your plant has outgrown its current container. As a result, the soil does not compact. A plant that is dried out and dejected results from the soil's poor ability to absorb moisture. Compacted soil can be identified by the soil pulling away from the pot's edge. Water too sits on top of the soil rather than getting soaked in.
Signs of Root Rot - Another reason to move your plant is the possible sign of root rot. Root rot can stem from overwatering and leads to falling leaves, fungus gnats, and changes in soil health. Moving the plant into a newer container with fresh soil can combat further damage.
Slower Growth - Quite often, you may also notice your plant's stunted growth. It could be due to a lack of nutrients or growth space. Repotting not only helps your plant sit happy, but also offers a better environment through healthier soil quality.
It's best to repot your Monstera during late winter or early spring. This is the time when it typically goes through a growth spurt. The warming weather will help the plant recover from the transplant way faster as well as a thorough watering. Just make sure to bring your Monstera inside during the colder months.
Repeat the repotting process every two years or when you see necessary.
Materials Required When Repotting Your Monstera

Image credits: Jill Wellington via Pixabay
Before you take on the big task of repotting, it is important to stay armed with all the right tools! Gather the following things to ensure a fruitful project.
- Watering can
- Larger pot
- Mister/Spray bottle
- Garden towel
- Humidifier
- Fertilizer
- Gloves
- Pruning Shears
How to Repot Your Monstera
Observe these six fundamental steps to properly repot your Monstera.
Step One: Prepare the Right Soil Mix

Image credits: By irynakhabliuk via Canva
An organic potting mix that is light and airy is ideal for Monstera plants. These plants don't do well in the backyard's wet clay soil. They favor soil of the tropical variety that drains well. Monstera plants' potting soil must include peat for bulk, as well as perlite and/or lava rock to keep air pockets from forming in the soil mixture. The majority of premium potting soil blends for Monstera also include organic fertilizer.
A suitable soil mix helps the plant smoothly adapt to the fresh transplant.
Step Two: Release Your Plant From its Old Container

Image credits: MarinaTr via Shutterstock
Extract the Monstera plant from the its present planter pot with caution. Delicately wiggle a garden trowel along the sides if the roots are truly anchored to the container. Using this tool will make it easier to release the plant from the container.
You can get help from a friend if your Monstera is particularly enormous. The best method for handling huge plants is to have one person hold the pot while the other supports the roots as they emerge.
Step Three: Loosen the Root Ball

Image credits: Sasha Kim via Pexels
At this step, you must be particularly careful with handling the plant. The root ball is likely to be heavier with the roots clumped together and all the soil that comes with it. Gently lift the plant up and begin to loosen the roots from the sides and bottom. You can use a chopstick to aerate the soil or lightly ease the roots out of the bland potting mix; Loosening the roots will help it better absorb nutrients in its new home.
When you can finally inspect the roots, ensure you remove any dead or damaged pieces with clean pruning shears.
Step Four: Pick a Suitable Pot

Image credits: Bek Greenwood via Pixabay
You have the choice between unglazed, terracotta, or plastic pots that are 3 to 4 inches deeper and just slightly wider than your old one. Ideally you want to select a container 30 to 50 percent larger then the root ball.
Do not go overboard with the size of the container because an overly large container can hold more water than the plant can consume. This will ultimately trigger over-watering and root rot.
Step Five: Place the Plant Carefully

Image credits: Regina Burganova via Shutterstock
It is now time to place the root ball into the new pot. Place the base of the stems approximately 1 inch below the top of the new planter. Put some potting soil below the root ball if the plant is sitting too low. Backfill with more potting mix between the root ball and sidewalls of the container. Delicately push the visible roots into the soil before giving the plant a nourishing dose of filtered water. Allow the water to drain well and place the pot into its former spot that receives indirect sunlight.
Repot To Home Sweet Home
Repotting is not always easy for you, especially with larger plants like the Monstera. The phase is also not immediately comforting for the plant. However, the above-stated steps will help you successfully get through this essential transplant. It will promote your plant’s good health and let it remain the main attraction of your home.
Do you know of more ways to keep the Monstera plant happy? Share in the comments below.