There’s a saying that goes, “Dirt is dead, but the soil is alive.” The Soil Science Society confirms that there are more species of organisms within the soil than there is above ground! The soil is teeming with life, minerals, nutrients, and particles that are invisible to the naked eye. Since you can't tell your garden soil's fertility by looking at it, testing it is important.
To understand the soil you have versus the type of soil you want for healthy plant growth, you'll need to test your garden soil. Here's how to go about the process.
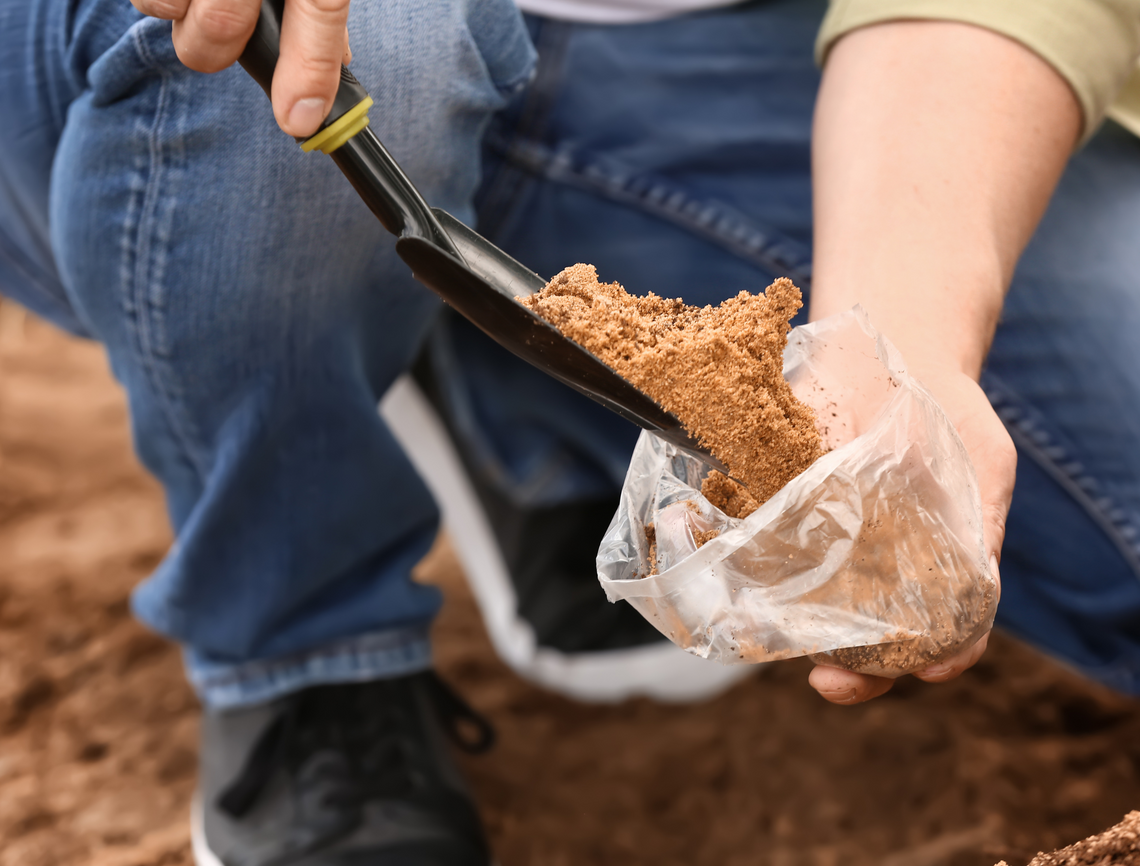
Why You Should Test Your Garden Soil

Image credits: Pau Buera via Shutterstock
Soil tests are significant because they can provide you an overview of your soil quality. They can help you prepare for the kind of plants you want to grow and the harvest you want to achieve. You should test your garden soils to:
- Learn more about your gardening area, particularly how your climate and indigenous flora and fauna affect its composition,
- Determine and correct plant problems emanating from it,
- Make an informed choice over fertilizer application and other amendments,
- Optimize plant development.
5 Soil Tests for Your Garden Soil
These tests will help you understand texture, type, drainage, pH, and earthworm count. Without further ado, here are five ways to test your garden soil.
1. The Feel, Squeeze, and Ribbon Method to Understand Soil Texture and Type

Image credits: Alicia Christin Gerald via Unsplash
Soil can be divided into three broad categories: sandy, silt, and clay. Determining what type you have is as easy as feeling its texture. All you need are some benchmarks to make as accurate of a conclusion as possible.
The feel, squeeze, and ribbon method involves direct contact with the soil and molding it to determine whether it's between sandy, silt, or clay soil. To follow this tutorial, you'll need:
- Handfuls of soil
- Water
- Clean hands
Step 1: Moisten Your Soil Sample
With a few drops of water, moisten the sample and rub it between your fingers. If it feels:
|
Gritty? |
It is likely sandy |
|
Smooth? |
It is likely silt |
|
Sticky? |
It is likely clay |
Step 2: Squeeze the Slightly Moisten Soil in Your Hand
In the palm of your hand, squeeze your moist sample as tight as possible, then release the pressure and open your hand to a lump of soil.
Step 3: Poke the Lump Until It Breaks
If the lump:
|
Breaks with little pressure |
It has a coarse texture (sandy/sandy loam) |
|
Doesn’t break but flattens |
The soil has a medium texture (sandy or silt loam) |
|
Doesn’t break but changes its shape |
It has a fine texture (clay/clay loam) |
Step 4: Ribbon Method
Now, moisten your sample and roll it between your thumb and forefinger. Then, roll the moist sample into a ribbon until it breaks.
|
If it breaks and doesn't form into a ribbon, feel for its texture: |
||
|
Presuming it feels gritty, then its loamy sand |
If it feels smooth, its silt |
|
|
If it breaks when it's less than an inch, break off a piece from the ribbon and add more water to feel for its texture: |
||
|
Is it gritty? Then its sandy loam |
If it feels smooth, its silt loam |
Does it feel somewhere between gritty and smooth? Its loam |
|
If it breaks when its 1 to 2 inches, break off a piece from the ribbon and add more water to feel for its texture: |
||
|
If it feels gritty, its sandy clay loam |
Does it feel smooth? Its silty clay loam |
If it feels somewhere between gritty and smooth, its clay loam |
|
If it breaks when its more than 2 inches, break off a piece from the ribbon and add more water to feel for its texture: |
||
|
Does it feel gritty? Its sandy clay |
Does it feel smooth? Its silty clay |
If it feels somewhere between gritty and smooth, its clay |
2. The Percolation Method to Understand Drainage

Image credits: Thinking Development via Creative Commons
Drainage affects the soil's water and oxygen infiltration, directly affecting plant growth. Compacted soils are caused by driving and walking over the area, compressing its particles, causing erosion and runoff and preventing it from facilitating water and oxygen flow. To follow this tutorial, you'll need:
- Spade or a digging tool
- Bucket or tarp
- Ruler or tape measure
- Water
|
Step 1: Dig a hole in your soil |
With your spade or digging tool, dig a 1 by 1 square foot and 1 foot deep hole. Put the dug-out soil in a bucket or on a tarp, then fill the hole with water. |
|
Step 2: Allow the water to drain, then refill the hole |
After the water in the hole has drained, refill it with water and measure the depth of the water with a measuring tool. |
|
Step 3: Wait 15 minutes, then measure the water |
After 15 minutes, measure the water in the hole in inches, then multiply the measurement by 4. This calculation will give you the amount of water drainage per hour. |
|
Step 4: Determine your soil drainage |
|
3. Vinegar and Baking Soda to Test Soil pH

Image credits: jessica mullen via Creative Commons
Soil pH is a measurement of the soil's acidic or alkaline levels. When it comes to healthy plant growth, pH affects mineral availability and nutrient solubility. Essential nutrients like calcium and potassium are soluble when the pH is 6 and 7, which is considered neutral.
If the soil’s pH prevents the solubility of important nutrients, plants could suffer from infections like blossom-end rot and soil toxicity due to deficiencies. To follow this tutorial, you'll need:
- A cup of soil
- Two containers (preferably non-metallic)
- White distilled vinegar
- Baking soda
- Water
|
Step 1: Scoop your soil sample into two separate containers |
With a non-metallic utensil, scoop about a teaspoon of the soil sample you want to test into the two containers. |
|
Step 2: Test for alkalinity with vinegar |
In one container, add half a cup of the white vinegar; if it fizzes upon contact with the soil, it is likely alkaline with a pH between 7 and 8. |
|
Step 3: Test for acidity with baking soda |
In the other container, add water until your soil is muddy, then add half a cup of baking soda. If it fizzes upon contact with the slurry, you likely have acidic soil with a pH between 5 and 6. |
|
Step 4: Determining neutrality |
If the samples don’t react in either test, it is neutral with a pH between 6 and 7, which is the ideal pH for many plants. |
4. Earthworm Count to Test for Organic Matter and Microorganisms

Image credits: Sippakorn Yamkasikorn via Unsplash
Organic matter and microorganisms in the soil include earthworms and compost, which are a source of nutrients. Compost is made from decomposed organic matter and is rich in nitrogen and carbon.
Earthworms and similar microorganisms help break down the organic matter in compost so plants can absorb the essential nutrients. Improving the earthworm population is crucial as it directly affects your plants' sources of nutrients and overall soil quality. To follow this tutorial, you'll need:
- Thermometer (optional)
- Spade or digging tool
- Bucket
|
Step 1: Conduct the test when your soil is cool |
Before you dig out your soil, make sure it is around 55 degrees Fahrenheit and ensure that it is moist but not too wet. |
|
Step 2: Dig out the soil |
With your digging tool, dig out 1 foot of soil and place it in a bucket, on a tarp, on a piece of cardboard, or in a wheelbarrow. |
|
Step 3: Get counting! |
Rummage through the sample and count the number of earthworms you find. For reference, earthworms are usually white, gray, pink, or reddish brown. If you count at least ten worms from your sample, your soil has passed the earthworm test. |
5. The Underwear Test to Determine Your Soil's Biological Activity

Image credits: Iowa NRCS via Creative Commons
To understand your soil's microbial activity, this test is essential. To follow this tutorial, you'll need:
- 100% cotton underpants (no dyes or polyester mix)
- Digging tool
|
Step 1: Bury the briefs |
Dig a little trough, about 6 inches deep, and bury the cotton underwear, leaving the waistband visible to mark where you left it. |
|
Step 2: Leave the underwear for two months, then dig it up |
After two months, dig up the buried underwear and wash the dirt off. If there are many holes, or if there’s hardly anything left, it means that the soil has high biological activity. Cotton is specified as the test material because microorganisms in the soil can break down the fibers into glucose. The more microorganisms in the soil, the more thorough the decomposition. |
Soiling Your Plants!
Since soil is highly active in fostering plant life, it is involved in several processes and transactions all year long. Therefore, testing it periodically will help you understand its nutrient levels and catch deficiencies so you can amend it accordingly before you prepare your garden for the upcoming seasons.
Leave your experiences, thoughts, and questions in the comment section! And share with friends and family who might find this helpful.