Quinoa is a superfood packed with protein and essential nutrients. Originally grown in the Andean region of South America, it is now cultivated in various parts of the world due to its numerous health benefits and versatile culinary uses. Growing it at home is an excellent way to ensure a steady supply of this nutritious grain.
Discover valuable tips and guidelines on growing quinoa in your home garden. Learn everything you need to know to cultivate healthy, thriving quinoa plants.
Pre-Planting Considerations
Image credits: sarahdow via Canva
1. The Proper Type
Choosing the right type of quinoa for your climate can increase your chances of a successful harvest. You can divide quinoa varieties into two main types: day-neutral and short-day.
For those living in the Pacific Northwest, select quinoa varieties well-suited to the region's long days and cool summer temperatures. Day-neutral types are typically the best option, as you can grow them successfully in many latitudes and climates. The common cultivars include 'Brightest Brilliant Rainbow Quinoa' and 'Cherry Vanilla Quinoa,' which thrive best in USDA Hardiness Zones 4 to 10.
Short-day varieties grown in Bolivia and Peru, which you can often buy in grocery stores, may not mature in the cooler climate of the Pacific Northwest. They are best suited for zones 9 to 11.
2. The Right Variety
When selecting the variety of quinoa to grow, consider factors such as climate, soil conditions, and personal preference. Some popular quinoa types include:
- White quinoa: It is the most commonly available type and has a mild, nutty flavor. It can thrive in a variety of growing conditions, but it requires adequate water and nutrients to produce a healthy crop. Ensure that the soil is well-draining and has plenty of organic matter to help it retain moisture and nutrients.
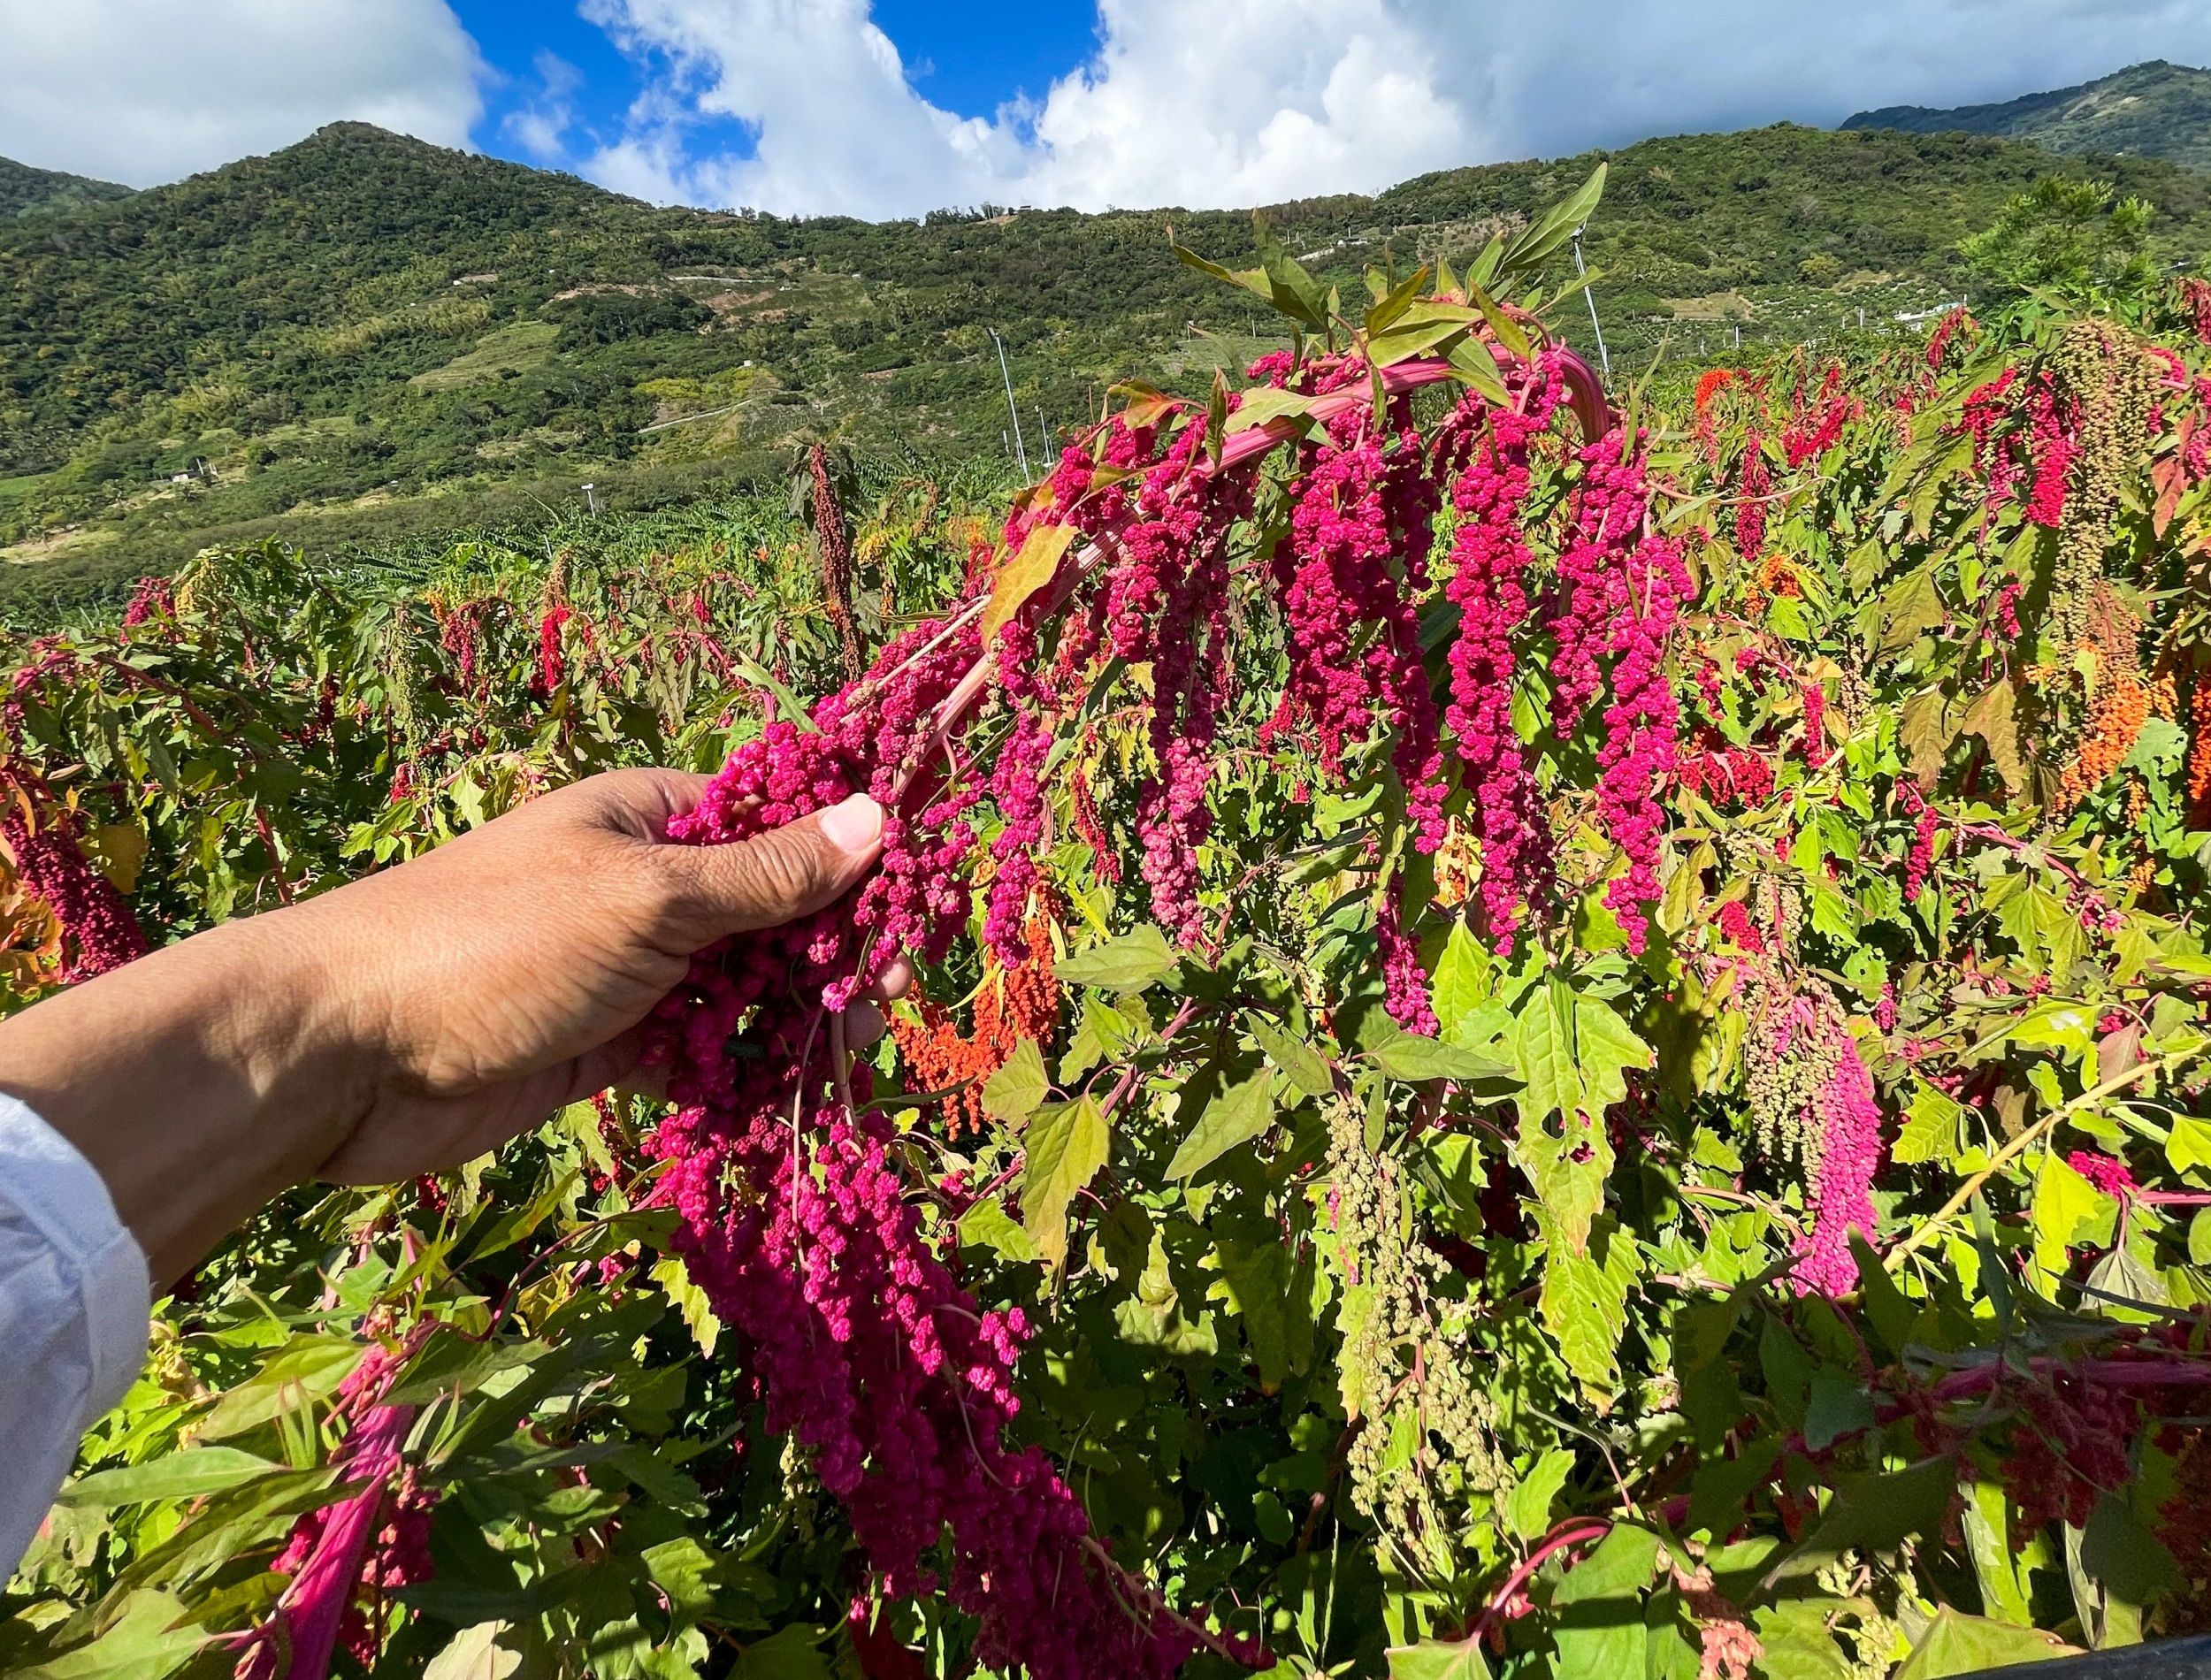
- Red quinoa: It has a slightly nuttier and sweeter taste than white quinoa. Red quinoa prefers cooler temperatures. It benefits from regular watering, especially during hot and dry periods. Plant it in a location that receives partial shade during the hottest parts of the day, as this will help to prevent the plant from becoming stressed.
- Black quinoa: It comes with a sweeter, earthier flavor with a crunchy texture. Like red quinoa, it prefers cooler temperatures. Plant it in a location that receives full sun exposure, as this will help to promote healthy growth and ensure a good crop yield.
All three types of quinoa are superfoods due to their high protein, fiber, and essential vitamin and mineral content. However, red and black quinoa varieties are also higher in antioxidants than white quinoa.
3. Sunlight and Temperature
One of the most critical factors in growing healthy quinoa plants is providing adequate sunlight and maintaining the ideal temperature. Quinoa requires full sunlight to grow properly, so pick a spot that receives at least six hours of direct sunlight daily.
Additionally, quinoa thrives in temperatures between 65 to 75 degrees Fahrenheit, making it an excellent choice for gardens in cooler climates. However, excessive heat can damage plants, so provide shade during the hottest parts of the day or they will not produce seed. Temperatures should not exceed 90 degrees Fahrenheit.
4. Seed Selection
Quinoa is typically grown from seed. When selecting, choose high-quality, disease-free seed stored in a cool, dry location. To encourage successful germination, soak the seed in water for a few hours before planting and keep the soil evenly moist during germination. Quinoa seeds germinate within 24 hours, and seedlings emerge within three to five days in soil temperatures from 65 to 75 degrees Fahrenheit.
5. Soil Requirements
Quinoa plants require well-draining rich in nutrients. It should have a pH level between 6.0 and 8.5, slightly acidic to neutral. Add compost or manure to the soil before planting to improve soil quality and fertility.
Planting and Caring
Image credits: cheekylorns via Canva
6. Sowing the seeds
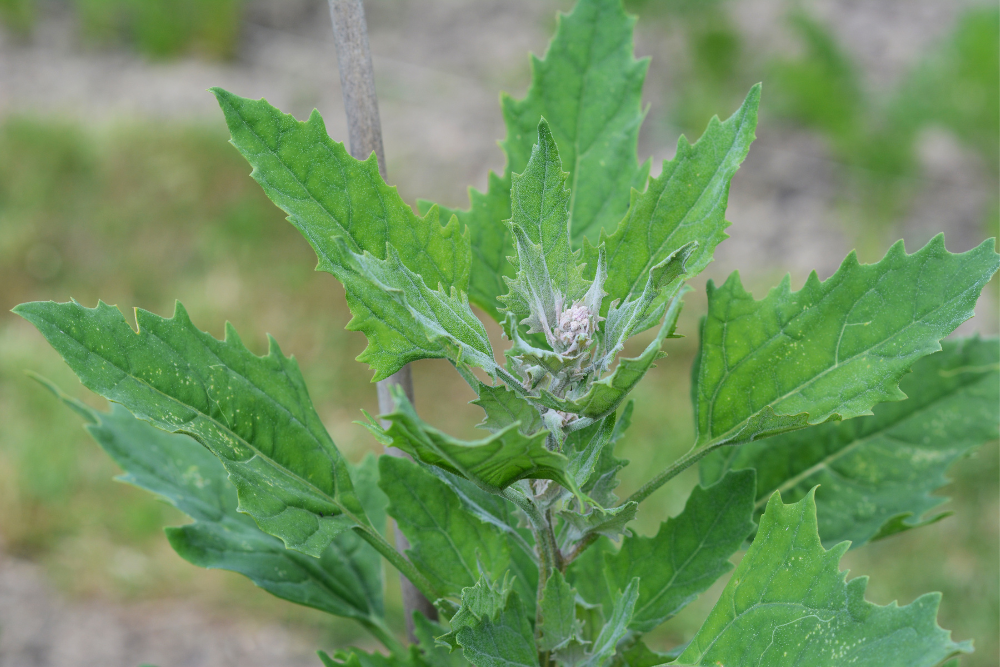
Quinoa is typically planted directly in the soil after the danger of frost has passed and the soil has warmed to at least 60 degrees Fahrenheit. Sow the seeds ¼ inch deep and 1½ to 2½ inches apart.
7. Watering Needs
Quinoa plants require moderate amounts of water, especially during dry spells. Keep the soil evenly moist but not waterlogged. Over-watering may lead to yellowing leaves and wilted stems while under-watering results in dry and brown leaves. To maintain proper moisture levels, water quinoa plants deeply once or twice a week, depending on the climate and rainfall in your area.
8. Pest and Weed Management
Quinoa is relatively pest and disease-resistant but can be susceptible to aphids, downy mildew, and lygus bugs. Monitor plants regularly for signs of infestation and use organic pest control methods such as neem oil. Quinoa also benefits from regular weeding to prevent competition for nutrients and to improve air circulation around the plants.
9. Support Structures
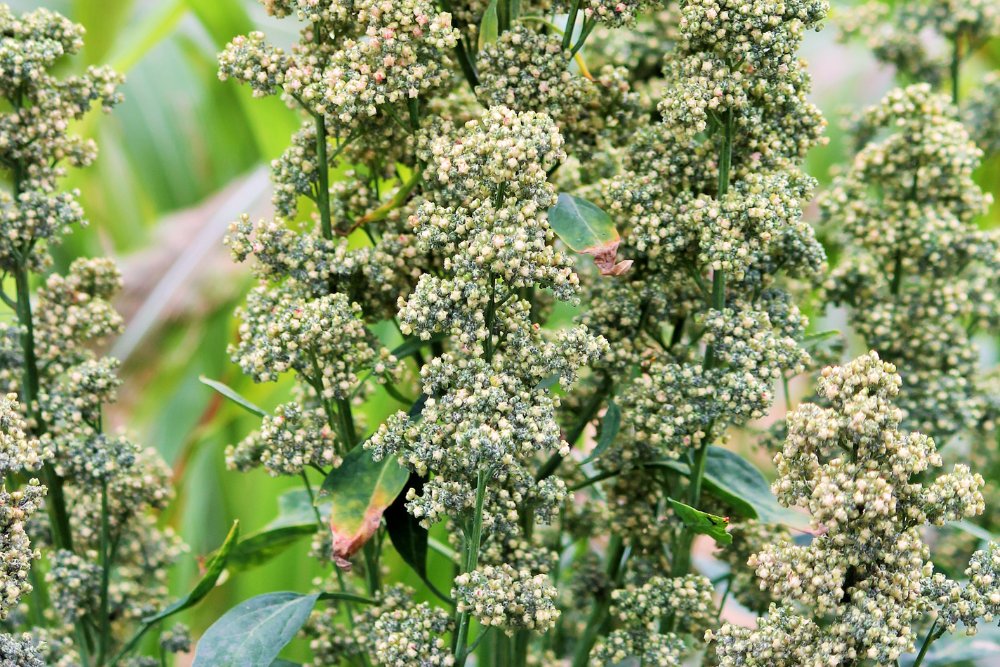
Quinoa plants can grow up to 7 feet tall and benefit from support structures such as trellises or stakes. Install support structures early in the growing season before the plants become too tall and heavy. It is also important to tie the plants to the support structures using soft ties to prevent damage to the stems.
Harvesting
Image credits: estivillm via Canva
10. Recognizing When Quinoa Is Ready
Harvesting quinoa is an essential step in the cultivation process, and it's crucial to do it at the right time to achieve optimal results. It is typically ready to harvest between 90 and 120 days after planting, depending on the variety and growing conditions.
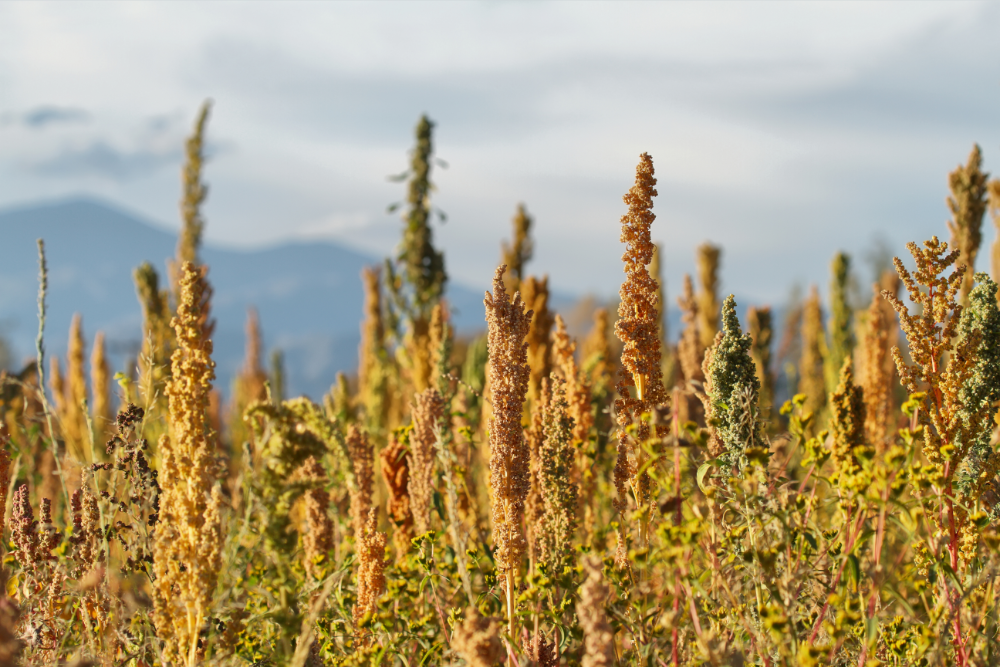
The best time to harvest quinoa is when the leaves begin to yellow and drop off, and the seed heads are dry and brittle to the touch. It usually occurs between August and September in most regions, depending on the planting date and local climate.
11. Harvesting Techniques
To correctly harvest quinoa, cut off the seed head using pruning shears or a sharp knife. Do this before the seed heads begin to shatter and drop the seeds, as this can result in significant yield loss.
After cutting the seed heads, hang them in a dry, well-ventilated location to finish drying. Once the seed heads are completely dry, you can remove seeds from the heads by rubbing them together.
A Delicious and Nutritious Addition to Your Garden
Growing quinoa at home can be a rewarding and nutritious addition to your garden. To successfully grow it, choose the right variety for your climate, prepare the soil, and sow the seeds at the appropriate time. Proper watering and pest management will also ensure a healthy and productive crop. Once harvested, you can store it for up to six months in cool and dry conditions.
Would you like to grow quinoa at home? Comment below, and as always, please share!


