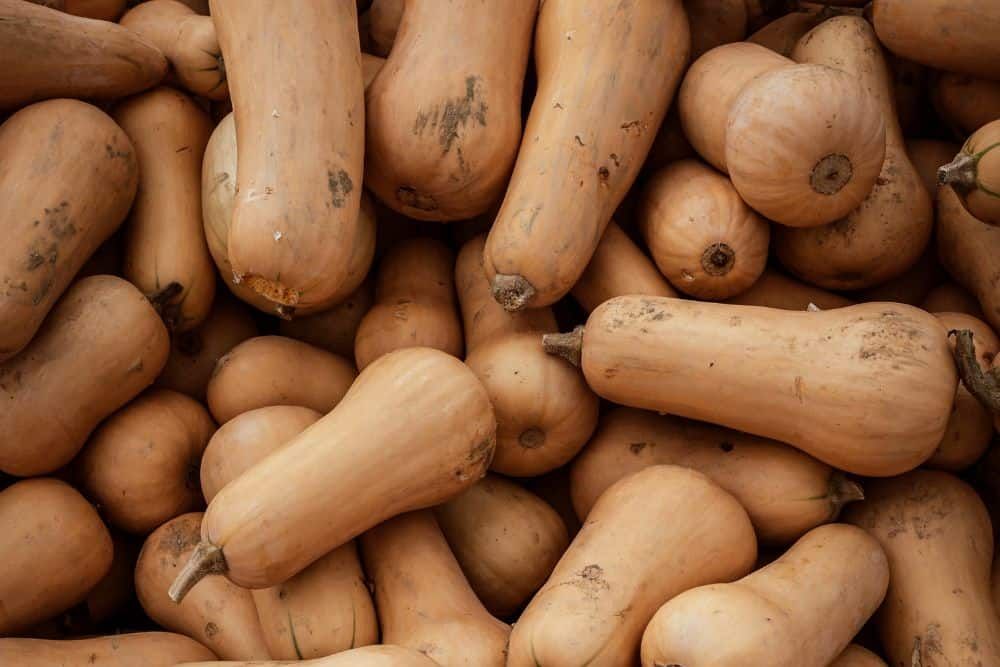
Start a garden full of edible goodies like pumpkins and butternut squash. You won't be sorry! Squash is among the most exciting fruits and vegetables you can grow at home. It is fairly straightforward to maintain and adds an element of richness to your meals. The fleshy fruits are also high in fiber and a good source of vitamins and minerals.
There are numerous squash varieties, most of which you can easily grow from seed. Some popular ones include pumpkin, zucchini, and butternut squash. Regardless of which squash you decide to grow from seeds, learn seven tips for setting you on the path to success.
1. Choose the Right Variety
Image credits: Brigitte Tohm via Unsplash
Before you start planting, determine the variety you want to grow. You can choose between summer squash and winter squash. While both have similar growing requirements, they have different characteristics.
Summer squashes are harvested throughout the summer when they are still immature and have soft skin. They are best consumed soon after harvest as they do not store well. Most summer squashes are ideal for growing in pots, as they are bushy and compact. They include yellow squash, crookneck squash, and zucchini.
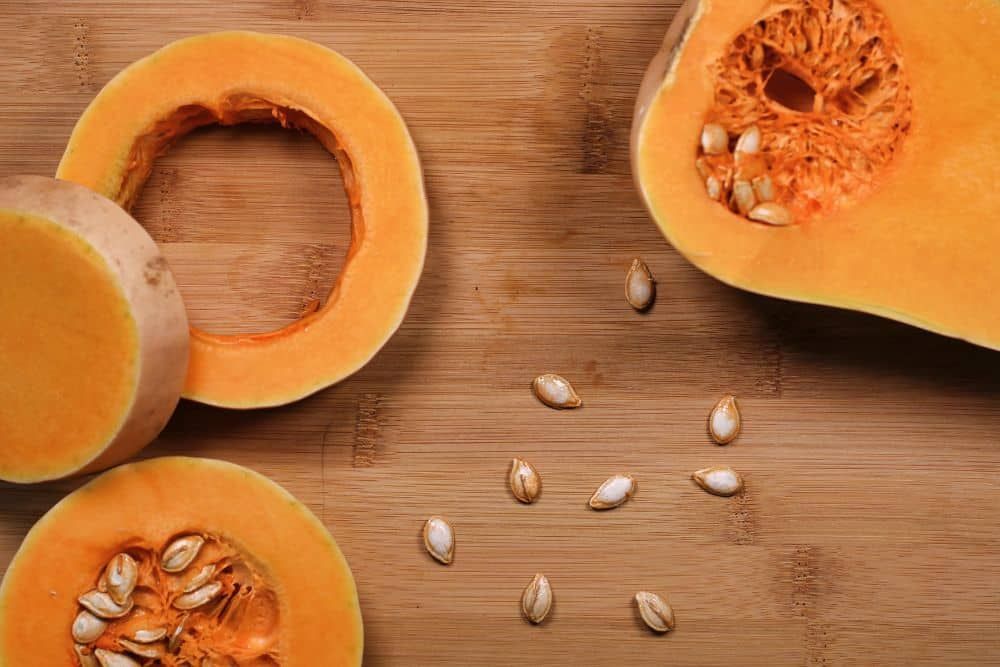
Winter squashes yield a single harvest once the growing season ends. Since they store well, you can enjoy them throughout the winter. Most winter squashes are vining, which can be left to trail on the ground or grown on trellises. They include butternut squash, spaghetti squash, and pumpkins.
2. Start the Seed Indoors
Image credits: Nick Collins via Unsplash
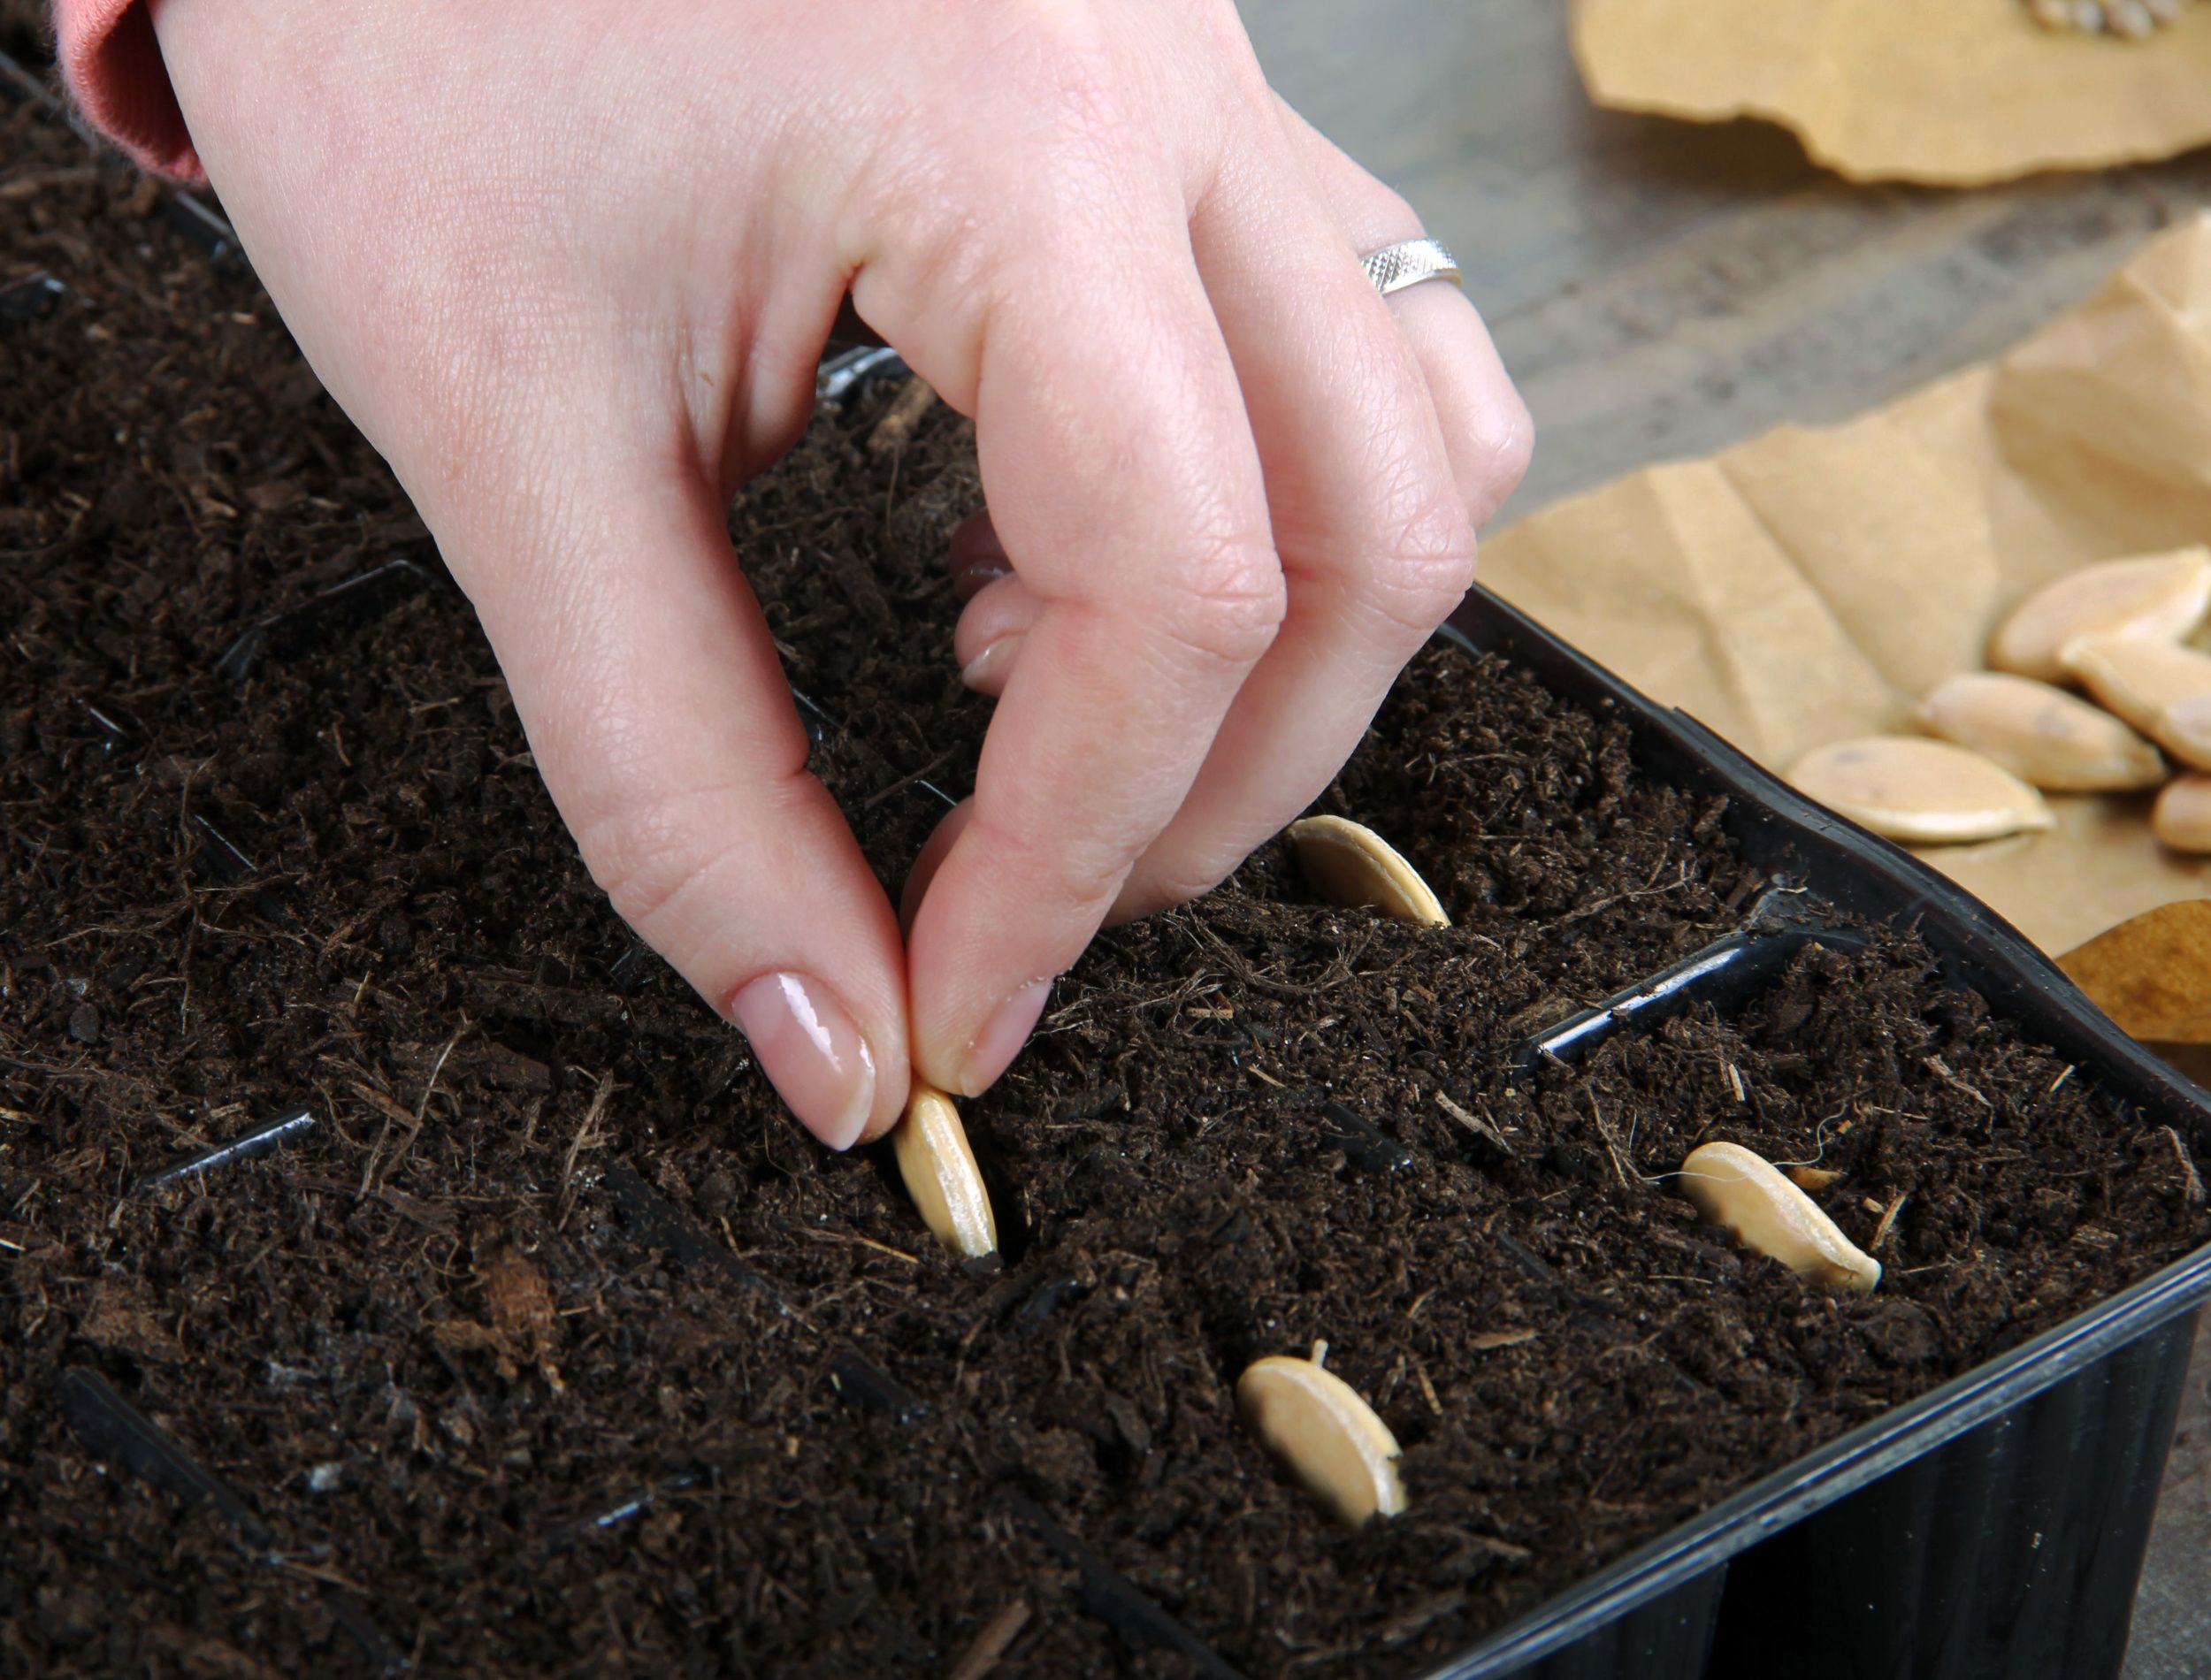
For an earlier crop, you can start the seeds indoors about a month before your region’s last frost date. To start seeds indoors, take small pots and fill them with rich soil. Sow the seeds about an inch deep into the soil.
Allow the seeds to germinate in a warm location, such as a sunny windowsill or heated propagator, with temperatures between 60 to 68 degrees Fahrenheit. Keeping the pots covered with a lid or polythene will allow the soil to hold moisture better.
Remove the cover once the seeds germinate, and water the seedlings consistently until they are ready for transplanting. You may have to move the seedlings to bigger pots before you can safely transplant them outdoors.
Pro Tip: You can also sow the seeds outdoors when soil temperatures reach about 65 degrees Fahrenheit. Cover the area with cloches or polythene sheets to speed up warming about two weeks before planting.
3. Prepare the Plot
Image credits: Pau Buera via Shutterstock
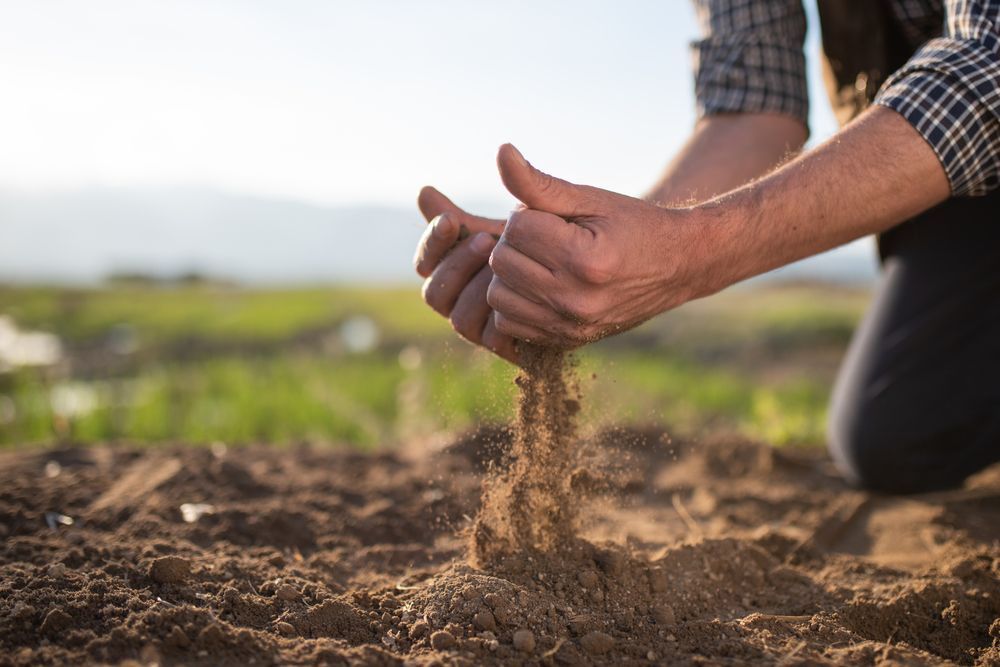
Choose a site with plenty of sunlight and sheltered from the winds. Squashes are heavy feeders and prefer well-draining, slightly acidic soil with a pH of 6 to 6.5. Prepare the planting site before sowing the seeds or transplanting the seedlings. Prepare the plot by adding aged compost or manure and raking the area.
You can also dig out individual holes with a depth and width of a spade for each plant and fill them with well-rotted manure or compost, followed by soil. Sprinkle a handful of organic fertilizer over the soil in each hole. Do this process about two weeks before planting the seeds or seedlings in the ground to allow the organic goodness to enrich the soil.
4. Acclimatize the Seedlings
Image credits: Jed Owen via Unsplash
If you started seeds indoors, acclimatize the seedlings before transplanting them outdoors. Acclimatization is gradually exposing the delicate seedlings to the outside environment to prevent transplant shock.
Two weeks before the transplant date, harden off the seedlings by leaving them outside during the day. Increase the period gradually over the first week. However, bring them inside before nighttime. During the second week, overnight them in a sheltered spot.
5. Water and Feed Them Timely
Image credits: Denis Pogostin via Shutterstock
Most squashes are big fruits and require plenty of water to thrive. They need about 1 to 2 inches of water weekly from rainfall or irrigation. You can use drip irrigation for consistent moisture.
Alternatively, sink a 6-inch pot with drainage holes beside each plant and fill it with water. This method allows the water to reach the roots directly and prevents waterlogging above the soil, which can lead to rot.
Feed the squash crop with a liquid fertilizer high in potassium every 10 to 14 days after the fruit begins to swell. Mulch with the organic matter around the plant to prevent moisture loss and provide additional nutrients.
6. Harvest Fruits Correctly
Image credits: Justus Menke via Unsplash
You can harvest summer squashes as soon as they reach your desired size, anytime after mid-summer. Early picking also allows you to enjoy tasty fruits with soft skin that you can prick with your fingernail. Moreover, picking frequently encourages growth to form more fruits. Consume these squashes within a week or two.
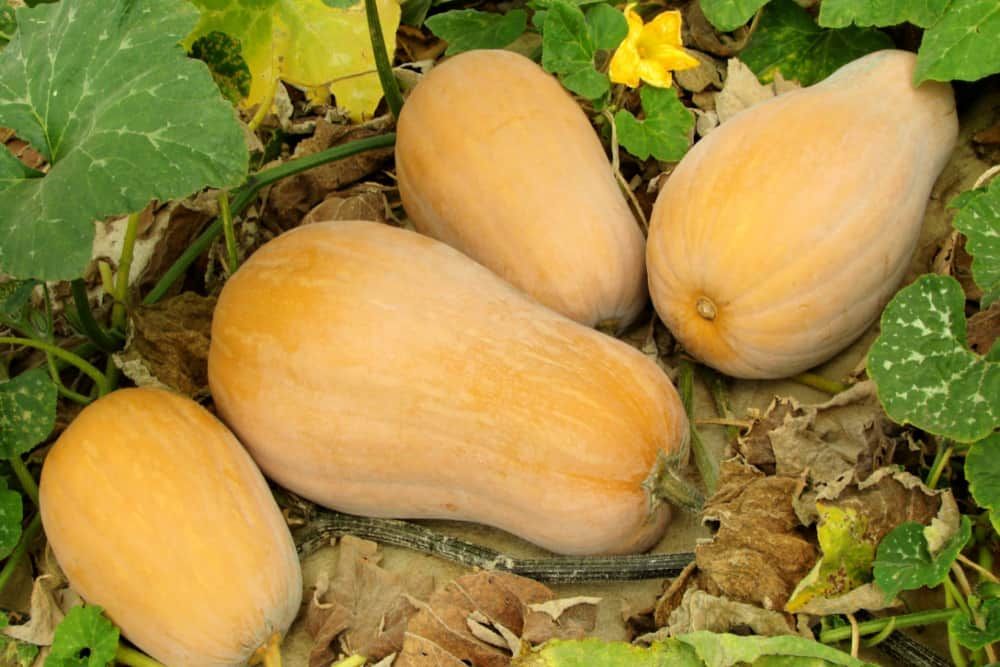
Harvest winter squashes before the first frost date. When you allow the fruits to mature on the stem, they store better for longer. You can also cure the fruits to ripen and harden the skin by placing them outdoors in the sun for a week. If it is too cold or wet, cure them indoors on a sunny windowsill or greenhouse.
All Squashed Up
Growing squashes in your vegetable garden open up a world of culinary opportunities. Moreover, if you have ample space to grow both summer and winter varieties, you can enjoy these nutritious fruits for the entire year. So, with squash planting season approaching fast, get your seeds, prepare your land, and get growing!
Which squash variety is your favorite? Share below in the comment!

