After many months of growing your favorite crops, herbs, and flowers, it’s natural to think about what to do with old potting soil. Should you keep it as is or throw it out? Figuring out what to do with old soil is essential to shape your growing season next year.
It’s easy to toss it out, clean your shed or greenhouse and containers and call it a day, but this will hurt you financially in the long run. Throwing out old soil isn’t practical, but neither is using it as is. Your old potting soil is exhausted, possibly moldy, and lacks enough nutrients to sustain plant life. You’ll be setting yourself up for failure if you use old potting soil for new plants.
Instead of tossing it out or replacing it every year, learn ways to refresh your old soil for a bountiful harvest every year.
7 Tips For Reusing Potting Soil
Soil plays a massive role in your plant’s health and life, and much like everything else, it needs occasional servicing! These few tips will help you revitalize your soil so you can use it to grow new plants.
1. Let the Soil Breath
Image credits: keadtisuk poonyaprayour via Shutterstock
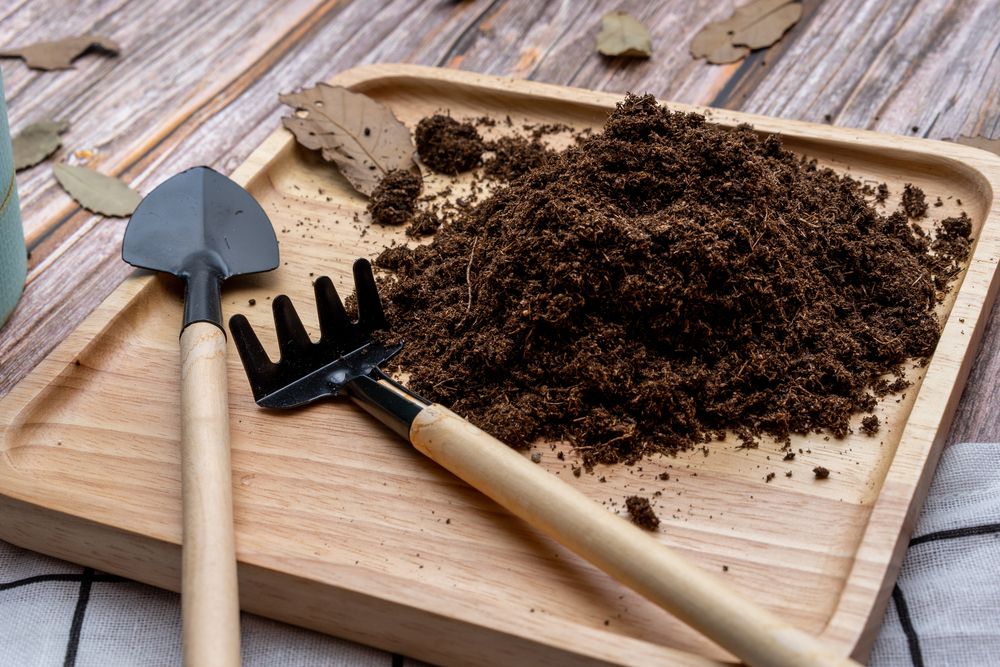
Your soil has been packed in a container for too long, but now that nothing’s growing, take it out, spread it out, and let it dry. You can either spread it on a wheelbarrow, so it’s easy to move it around, a large tarp, or a large shallow container.
Dry soil is easy to sift through, break down, and store, whereas storing moist soil can attract mold and mushrooms.
2. Comb the Soil
Image credits: rblfmr via Shutterstock
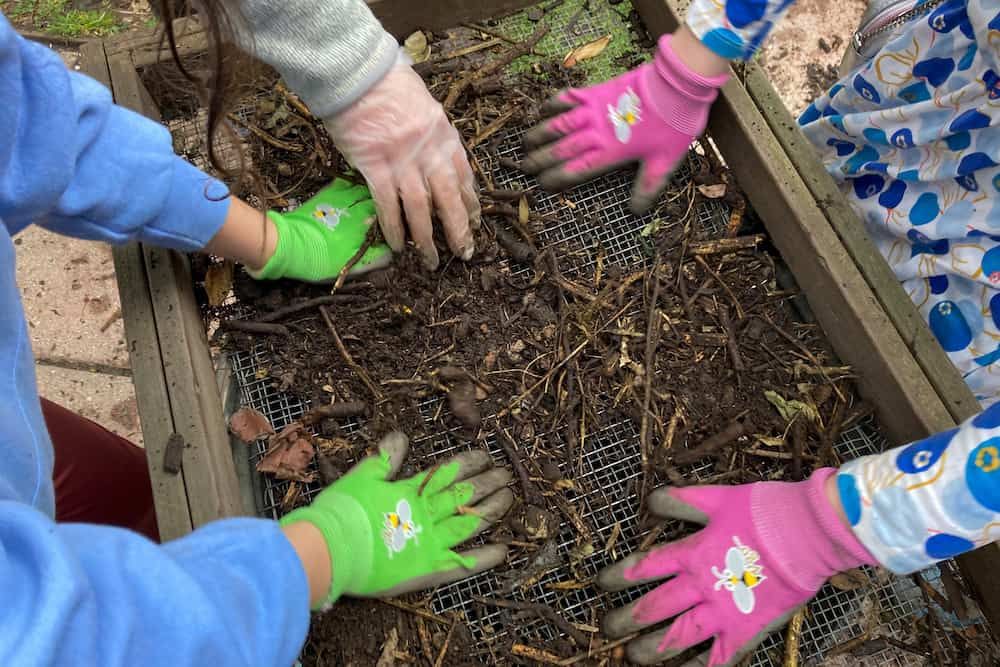
Once the soil is completely dry, use a soil sifter to remove old roots, rocks, debris, dead weeds, branches, or other materials (rubber, glossy paper, etc.) that can’t decompose. This step will also help you break down clumps of soil.
Save any earthworms you come across and put them in the sifted soil below the sifter. Regardless of how laborious this step sounds, don’t skip it will help prepare the soil for refreshments.
3. Bake the Soil
Image credits: Olga Pylypenko via Shutterstock
Now that the soil’s free from materials that won’t decompose, clumps and debris, sterilize it to kill any pathogens, insect eggs, and weed seeds that may have escaped the sifter. There are many ways to sterilize the soil, but regardless of your chosen method, you’ll need to heat the soil to make it pathogen-free. There are two ways to go about this:
- After combing the soil, you can store it as is in an airtight container until spring if you want to use the sun to sterilize your soil.
- You can use other methods (boiling water, microwave, or oven) to sterilize the soil without depending on the sun.
Your process will depend on your geographical location and climatic conditions. That said, some aggressive weed seeds will still survive the heat. But, you may be wondering, if heating the soil kills harmful elements, does it also eliminate beneficial microbes? Yes, it does, that’s where Step 4 comes in.
4. Add Nutrients to the Soil
Image credits: New Africa via Shutterstock
Are you trying to refresh old raised bed soil or old potting soil? You’ll need a few optional things and ingredients if you’re rejuvenating old raised bed soil. Assuming you’re refreshing old potting soil, a pH test will tell you what kind of soil you’re dealing with.
Most potted plants grow best in soils with a pH between 6.0 and 6.5. The easiest way to refresh old potting soil is to mix 50 percent of the old soil with 50 percent new soil. But this would still not fully address your soil’s nutrient deficiency. To improve the soil’s nutrient content:
- If you’re growing flowers and potted plants, add one part compost to four parts soil.
- For vegetable gardens, mix 1 inch of compost into the top 5 inches of the soil.
- For trees and shrubbery, mix one part compost with nine parts soil.
- For lawns, mix 2-2.5 inches of compost into the top 6 inches of soil.
The benefits of compost are hard to deny! It boosts your soil’s nutrient content, and you can easily learn to make your own compost for your garden. If you don’t have enough space for traditional composting, you can also compost on a balcony.
5. Store it Properly
Image credits: ela_elarts via Shutterstock
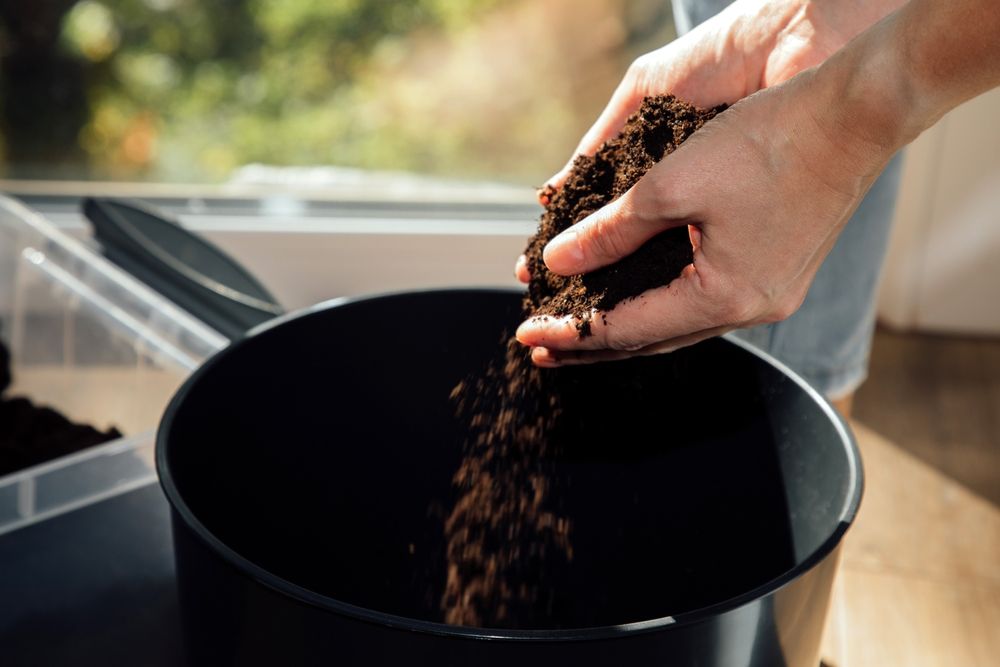
If you’re not using the soil immediately, it’s best to store it properly for the next growing season. If your soil is dry, pour it into multiple large or medium-sized zip-top bags, squeeze out all the air, close and tape them for extra safety.
Place them indoors in a room with low humidity, like a closet or pantry or outdoors in a large plastic drum, garage, or shed. During winter, watch out for tears and cracks in the zip-top bags because that’s where insects and moisture will get in from and damage your soil.
6. Mix Organic and Inorganic Soil Amendments
Image credits: FotoHelin via Shutterstock
When you’re ready to plant in spring, remove your soil and spread it out under the sun for a couple of hours. Before planting, you’ll need to prepare your soil for the growing season.
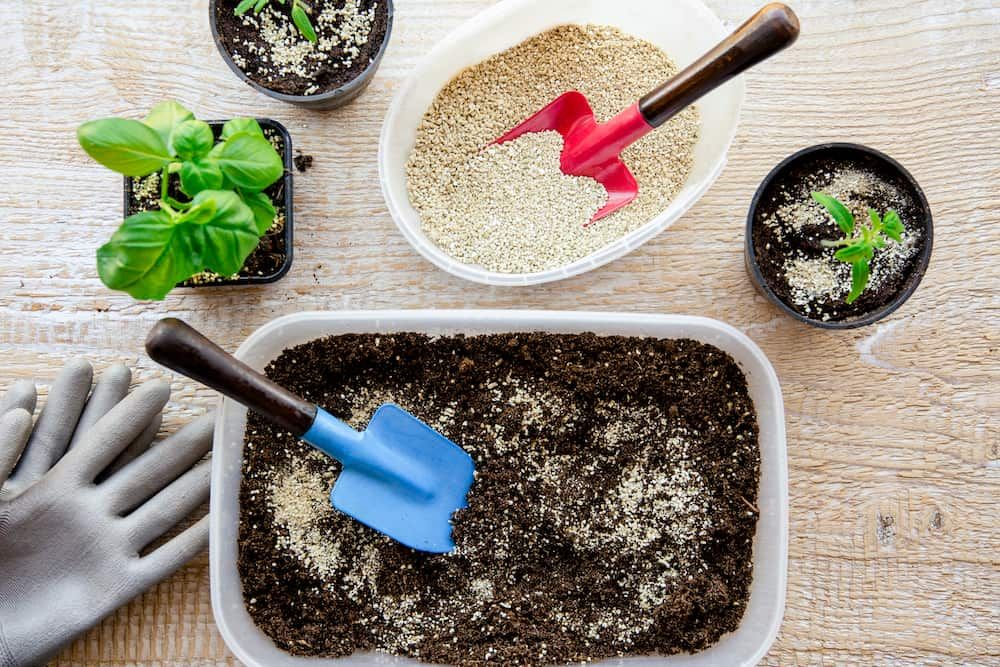
Before you add soil conditioners or amendments, test your soil to understand what kind of soil you’re dealing with and its nitrogen, phosphorous, and potassium content. Depending on your soil’s structure and health, you can add organic amendments, like wood ash, manure, and coco coir, and inorganic ones, like vermiculite, perlite, and lime, to improve its fertility.
7. Add Fertilizers to Your Soil
Image credits: Sarycheva Olesia via Shutterstock
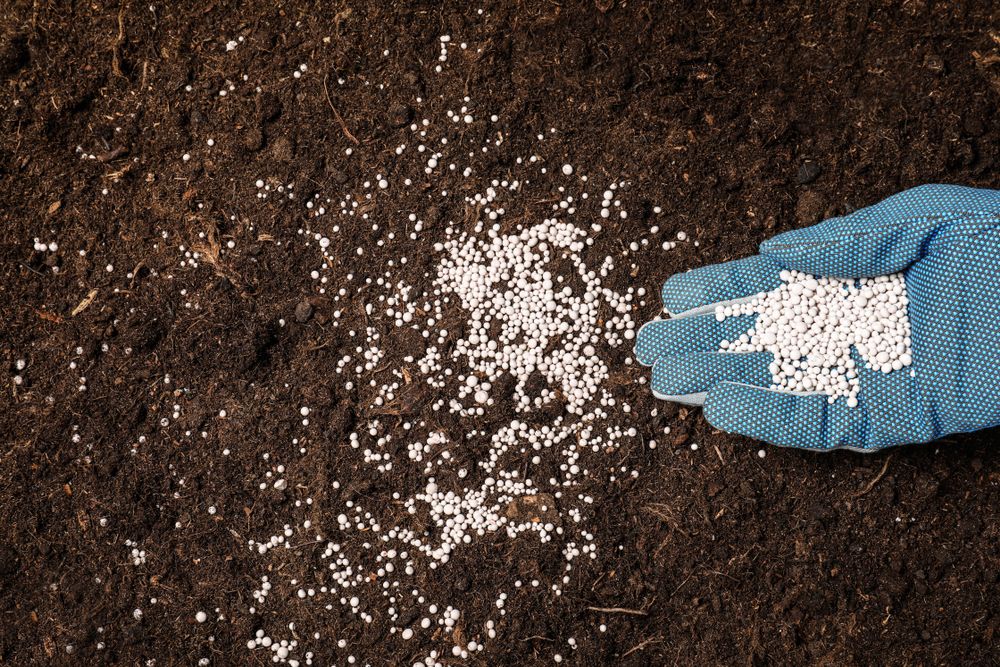
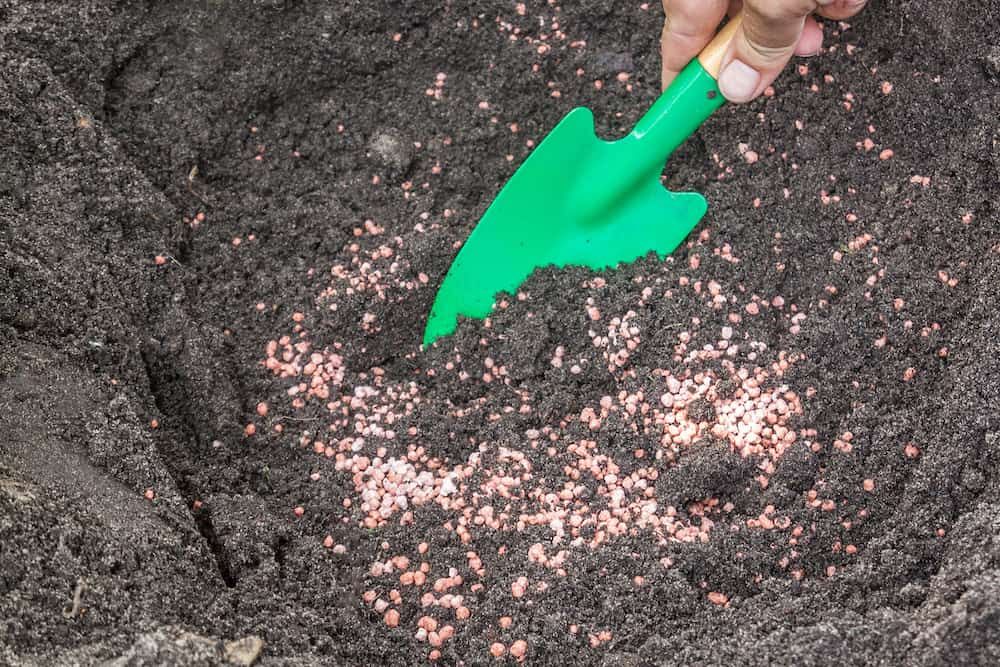
Lastly, prepare your soil for container gardening by adding fertilizers for healthy plant growth. Apart from nitrogen, phosphorous, and potassium, the soil also contains some amounts of magnesium, silicon, copper, iron, and calcium.
The plants you grow often deplete the soil’s nutrient content so before you plant new seeds, replenish the soil’s nutrient content accordingly. You can make your own fertilizer to benefit your plants.
About Thyme, Soilmate!
While old potting soil may look dull and lifeless, don’t toss it out. You can easily rejuvenate it so you can use it again in your raised garden bed or containers. Reusing your potting soil provides long-term financial benefits and is also eco-friendly.
However, sometimes there’s no way to revitalize your soil. When that’s the case, there are a few thrifty ways of reusing your potting soil. This way, you’ll be sure your potting soil, once your ‘soilmate,’ won’t be going to waste!
As always, leave your experiences, thoughts, and questions in the comment section, and please share!
Happy Gardening!


