One of the great things about grass is that it's happy to spread. It means that if you have an established lawn, you can remove strips of it to transplant the same grass to a new location. That gap in your lawn won't last forever as the surrounding grass will spread into the gap you created.
The same idea applies to wherever you're transplanting the sod too. You don't have to cover the whole area with fresh sod. You can lay down a strip, help it take root, and then allow that grass to spread into the adjacent gaps. Are you looking for more tips for transplanting sod? Well, you're in the right place, as we're about to share our 6 top tips for transplanting sod.
1. Get The Season Right

Image credits: Chris Lawton via Unsplash
When it comes to transplanting sod, doing it at the right time could have a huge effect on the end result. The best times to transplant sod are during the early spring or fall. Which one depends on whether you have cool-season or warm-season grass that you’re transplanting. If you need help identifying what kind of grass you have, reach out to your local grass experts.
2. Prepare The Ground Accordingly

Image credits: Goumbik via Pixabay
To prepare the ground where the new sod will go, you need to remove any barriers between the roots of the sod and the soil. Remove any debris, including sticks and stones. Dig down a few inches to make sure. Then fertilize the area and water it thoroughly to soften the ground and give the fertilizer a chance to soak in.
For compacted soils, you’ll need to loosen them thoroughly to encourage the new sod to take root.
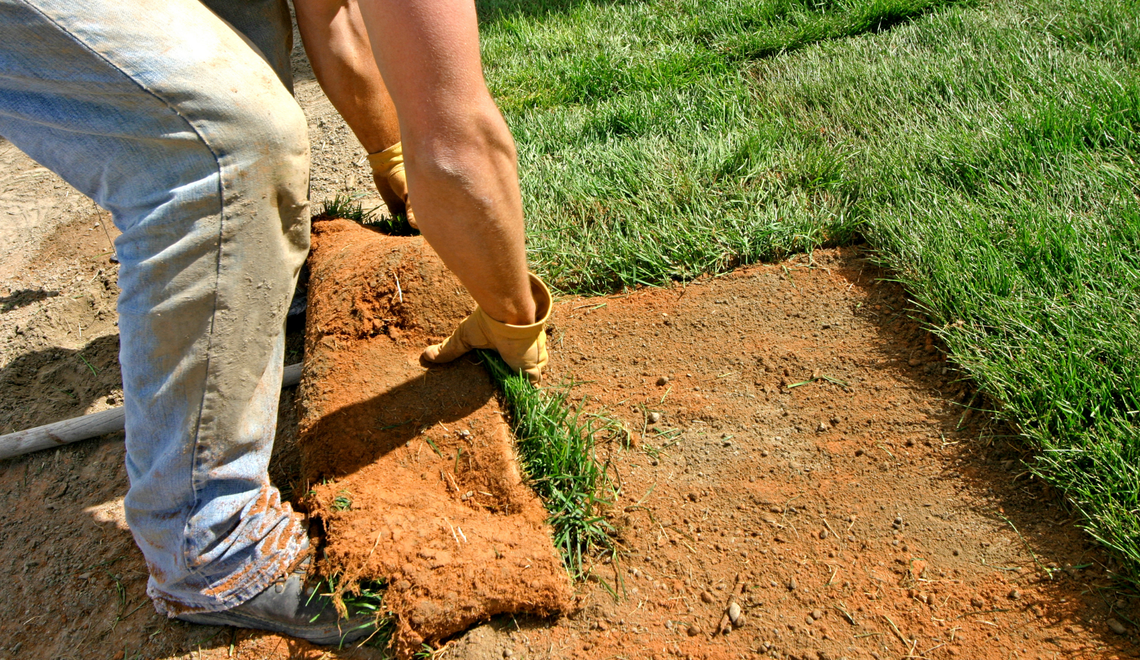
3. Strip The Sod
When it comes to removing the sod for transplanting, it’s best to separate the sod into strips. A sharpened shovel helps with this step. The shovel can also be used as a measuring instrument to keep each strip consistent.
Strips of sod can be rolled up and easily transplanted to their new location. It also leaves a neater gap where you removed the sod and makes it easier when unrolling these strips in their new location.
4. Compact The Sod

Image credits: glasseyes view via Creative Commons
Once you’ve neatly laid your sod out in its new location, it’s time to compact the area. There are tools for this. A moisturized lawn roller is the best option if you have access to one.
It’s safe to say that most homes don’t have a moisturized lawn roller on hand. So instead, host a short dance party on your new sod. It’s way more fun and has the same effect. Just don’t overdo it. One song max.
5. Water

Image credits: HenryAGL via Pixabay
One of the most important aspects of a successful sod transplant is consistency and even watering. The lack of an established root system means that newly transplanted sod is at a higher risk of drying out. To prevent this, water your new sod well. Daily for the first week, and then you can start tapering off as the lawn establishes itself. It’s a good idea to set up some sort of automatic sprinkler on a timer so that you don’t forget.
6. Fill In The Gaps

Image credits: terimakasih0 via Pixabay
To encourage the grass to spread into the gap left behind when you removed the sod, you can help it along. The grass is pretty resilient stuff and will happily spread into an area with less than ideal conditions. But if you want a perfect lawn, you need to take a few extra steps.
Fill in the gap left behind with some compost. Try and raise the level to the same level as the grass around it, and use a rake to level the area. You can also water the area regularly to encourage the grass to spread. Before you know it, the surrounding grass will move in to cover up the gap you left behind. Easy.
If you're dealing with a seriously uneven lawn, you might need to do some digging regarding how to level out an uneven lawn.
The Last Word
By following the six tips above, you'll be able to transplant sod from your existing lawn for use anywhere else in your yard. The grass is resilient stuff, so spreading it around should be easy. Getting a perfect lawn, however, takes one or two extra steps, outlined above. The good news is that doing it properly once will give you a lawn to be proud of for years to come.
Since grass is so happy to spread, it can become a problem where you don't want grass. So before you spread it around, make sure you'll want grass in that new location for many years to come.