Do you have a fern and want to fill up your space with more beautiful green fronds? Or perhaps you'd like to share the frond love with family and friends.
Though finding and purchasing another is possible, it may be practical (and fun!) to produce more ferns from your existing plant! Whatever the reason, propagating your fern could be the ticket to having that lush foliage to enjoy at home or on the porch in hanging baskets.
Fern Facts

Image credit: Stephy Miehle via Unsplash
Before diving into the propagation methods, here are a few facts about ferns. Not only are there around 12,000 identified fern species, but they are one of the oldest plants on record: Ferns have appeared in fossils from 360 million years ago!
Ferns can grow in shady areas of gardens and live a long life in the right climates. Growing regions vary depending on the species, as some thrive in mountainous regions and others in warm and moist tropical locations.
As part of the Pteridophyte group, these vascular plants do not flower or create seeds, distinguishing themselves from many other plants. Other Pteridophytes include mosses and horsetails. Ferns reproduce via dust-like spores found on the underside of the fronds. These spores can spread great distances in the wind.
Ways to Propagate Ferns
Ferns are unmistakable in appearance and make great additions to homes and landscapes. If you would like to multiply your fern collection, learn about the different ways to propagate yours!
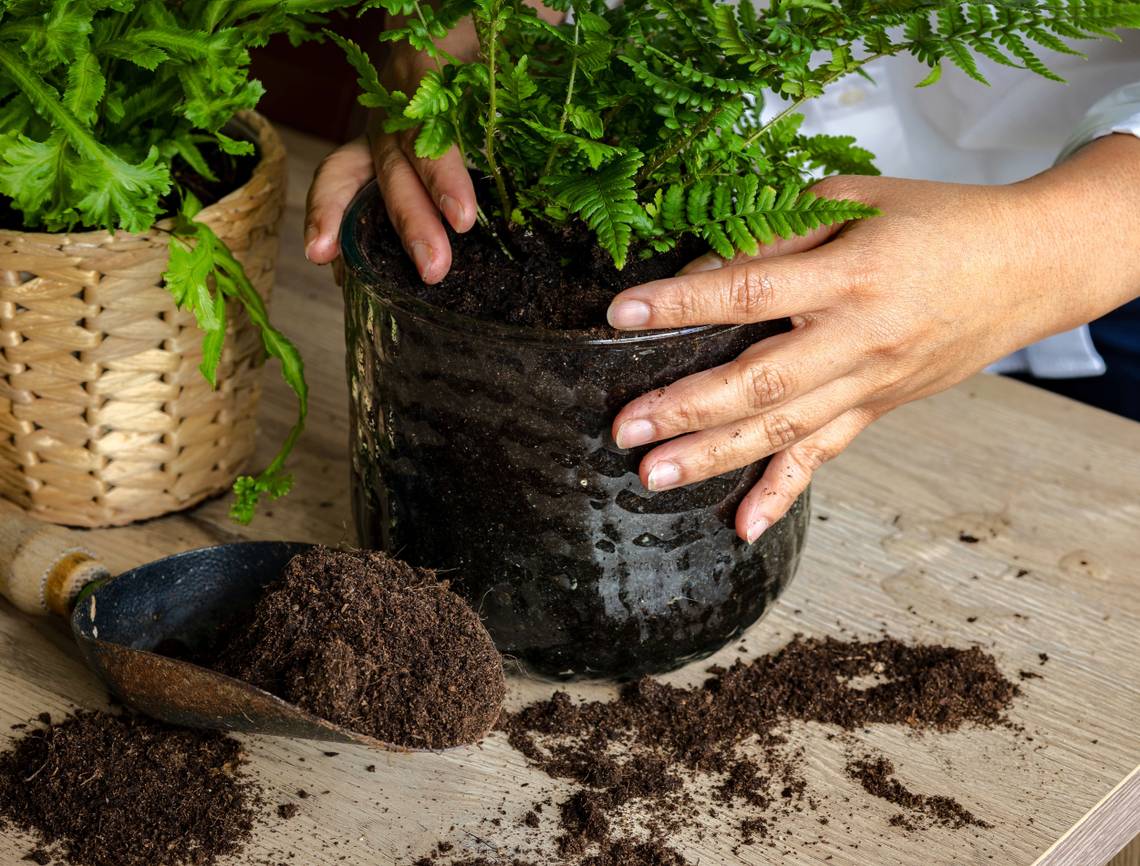
Division

Image credits: Antoni Shkraba via Pexels
Division is the easiest method to propagate your fern. This process works well to multiply your collection or to help your plant thrive again. A fern with smaller lower leaves or dead stems in the center of the plant clump could benefit from division.
There are three ways to divide these perennials, and the method depends on the species with which you are working. These methods are root, clump, and edge division.
Root division is when you remove an established rhizome from the primary root system. A rhizome is a specialized stem that grows horizontally at or just under the surface of the soil. These rhizomes have nodes, unlike roots, and produce their own shoots that grow up out of the soil. To remove, gently loosen the soil around the shoot with your fingers or a garden fork. Then, with a sharp knife or shears, cut the rhizome off the main root system and remove it from the soil.
Clump division involves separating the multiple growing points from the main root ball. Often fibrous and fleshy, these root systems require a sharp, heavy-duty knife to cut. Scaly male fern (Dryopteris affinis) and the autumn fern (Dryopteris erythrosora) are some species that work best with this division method.
Edge division is similar to clump division; however, it involves removing only the outermost growing points from the main root ball, not separating the entire plant. Choose this method for ferns such as the ostrich (Matteuccia struthiopteris) and sensitive (Onoclea sensibilis) fern species.
Once you have your new section of fern, plant it in a new pot with a well-draining potting mix. Compost, coir, and perlite make an excellent environment for ferns. Then, place the pot in a bright location with indirect light, allowing it several weeks to establish.
Pro Tip: Divide ferns every three to five years to maintain a healthy and thriving plant.
Spores

Image credits: Joshua Ralph via Unsplash
In the wild, ferns naturally reproduce through the spores found on the underside of the fronds. It is possible to use these spores to intentionally propagate your fern.
Spores exist on fully mature plants, and just as with seeds, these spores need to be ripe before you can propagate. Ripe spores will easily fall off the frond, so to gather them shake the frond into a paper bag. Sow the spores in a sterile medium such as perlite. Due to the tiny nature of the spores, remove any extra growth that occurs to allow individual plants to thrive.
Sow the fern spores into a pot and then create a mini greenhouse by covering the potted spores in a plastic bag. Keep the soil moist and place this pot in warm and bright indirect sunlight. The speed at which the growth occurs will depend on the fern species.
If successful, a green film will appear on the surface of the medium as a sign that life has begun! Once this happens, continue misting the growth -- don't let it dry out. Growth can take up to six months to appear, depending on the type of fern you are working with, which makes this a rewarding process for gardeners! Transplant them into their pots once they have become large enough to handle.
Pro Tip: Some ferns, such as some Boston ferns, are sterile, and spore propagation is impossible. However, this method is best for species like the climbing fern (Lygodium palmatum).
Fern Maintenance

Image credits: Sasha Kim via Pexels
Now that you know how to propagate your fern, here are a few tips and tricks to help it live its best life!
- Ensure the soil is well draining.
- Keep the fern well-watered but not soggy. Do not let this plant dry out between watering.
- Use slow-release fertilizer with ferns, as they are sensitive to this treatment.
- Browning tips usually mean underwatering.
- Divide outdoor ferns in late fall, after the first frost.
Fern-tastic!
The unique fronds of this plant are a popular choice for hanging baskets and landscapes. If you enjoy your fern and want to multiply your plant, these two propagation methods will help you get there! Create new life by planting spores or dividing the rhizomes from the main plant. Whichever method you choose, with a few tips and tricks, your next fern will be on its way to a happy and healthy life!
Do you enjoy propagating your fern? Share in the comment section below!