As the weather starts to change and the days get shorter, it's time to think about how to winterize your hibiscus. Although hibiscus plants can be grown outdoors year-round in tropical climates, they will need to be winterized in areas with cooler temperatures. Because hibiscus is a tropical plant it requires a certain amount labor to survive the colder months. The last thing you want is to see your beautiful hibiscus die in the cold.
With the right care, your hibiscus will remain healthy and vibrant throughout the cold months of winter. Winterizing your plants properly is crucial if you want to enjoy their blooms again.
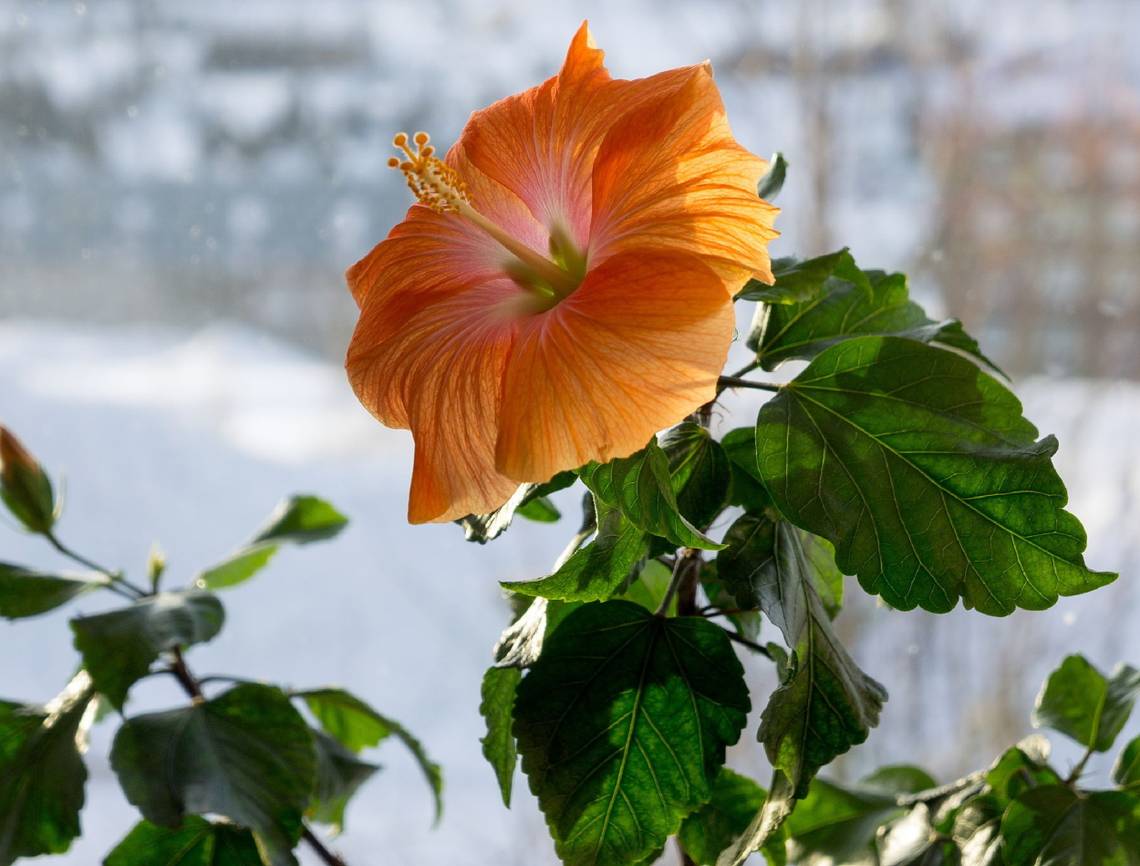
The Importance of Winterizing Hibiscus Plants

Image credits: Jessica Sloan via Unsplash
Winterizing your hibiscus plants is essential to protect them from extreme temperatures and drying winds. The cold winter air can dry out the soil, cause buds to drop, and even kill the plant if left unchecked.
Hibiscus plants do best overwintered indoors because their tropical. If you lived in the tropics and it suddenly started snowing you wouldn't know what to do either! This plant prefers warm temperatures and bright light making it a terrible companion for snowfall. Not to mention they despise sitting in water.
What You’ll Need

Image credits: servickuz via Shutterstock
Here's what you'll need to winterize your hibiscus plants:
- Clean and sharp pruning shears
- Insecticidal soap
- A warm and sunny place indoors
Step-by-Step Guide on How to Winterize Hibiscus Plants
The winter months can be hard on your hibiscus plants, but there are a few simple steps you can take to ensure that they thrive all season long. Here is a step-by-step guide on how to safeguard your beloved blooms.
Step One - Check for Pests

Image credits: Avalon_Studio via Canva
The first step to winterizing your hibiscus plants is to check for pests. Insects such as aphids, spider mites, thrips, and whiteflies can quickly take hold of a houseplant, so inspect your plants thoroughly before you bring them in for the winter.
If you spot any pests on the plant or around the container, spray the affected area with mild insecticidal, such as neem oil and isolate your plant. A quick application now can save you a lot of worries later on in the season. Just be sure to carefully read the label first; Some insecticides may not be compatible with certain types of plants.
Step Two - Acclimate Your Hibiscus

Image credits: Kristi Blokhin via Shutterstock
As temperatures drop, start gradually moving your plants to a sheltered outdoor area with less direct light. It will help them adjust and protect them from experiencing shock from the sudden change of environment.
Additionally, keep an eye on temperature levels; many hibiscus plants don’t fare well with temperatures below 40 to 45 degrees Fahrenheit and need to be acclimatized ahead of frost or freeze. It's best to have your hibiscus plants inside before the first frost.
Step Three - Cut Back Some Foliage

Image credits: VH-studio via Shutterstock
Pruning before bringing the plant inside can help reduce the plants size and keep it kempt, allowing it to fit better into a smaller home environment. To prune the plant properly, use sharp and clean scissors or shears to trim away any dead or damaged stems.
Also, remove any suckers (inward-growing shoots) near the base of the plant that could lead to overcrowding in the future. Doing this will keep your hibiscus looking neat. But, don't cut too much off; you don't want to shock your plant or cause undue stress.
Step Four - Bring Them In

Image credits: Tatiana1011 via Shutterstock
Temperatures dropping to 50 degrees Fahrenheit or lower can damage plants accustomed to the warmth of summer. When the evening temperatures hit 50 degrees Fahrenheit, bring your hibiscus plants in. As mentioned before, you want to keep an eye on the first frost date expected in your area.
Step Five - Caring for Your Plants Indoors

Image credits: Snowbelle via Shutterstock
Once you have brought your hibiscus plants indoors, there are a few key things to consider to keep them thriving. To start, they'll require less water during winter since indoor temperatures tend to be more stable and there's no wind or rain. It's best to water only when the top half inch of soil is dry to the touch. Over-watering your hibiscus can lead to root rot, so keep an eye on moisture levels.
Find a spot in your house with plenty of sun but isn't too hot, cold, or near any drafts or vents. A south-facing window is ideal if you have one available, as it will provide consistent temperature and natural lighting throughout the day. If direct sunlight isn't available, you can use an artificial grow light to give your plants all the nutrients that they need.
If you decide to keep your plant on the windowsill make sure it is not pushed up against the glass. Plants should be a couple of inches back from the window to minimize cold damage.
Another thing to keep in mind is that your hibiscus plants don't need much fertilizer during the winter months due to lower light intensity levels. Lastly, inspect your plant periodically for pests. If you find any of these insects present on your hibiscus plant, treat the infestation with insecticidal soap.
It may take some time for your plant to adjust to its new environment, so don't be alarmed if it drops all of its leaves shortly after moving them inside. It is a normal and natural part of transitioning!
Begin Your Winter Gardening!
Winterizing your hibiscus plants requires extra effort, but it’s well worth it for their long-term health. By following the steps outlined in this guide, you’ll ensure that your beloved blooms survive the season with ease. With proper care and maintenance, your hibiscus plants will be flourishing come spring!
Do you have any tips or tricks for winterizing your hibiscus plants? Leave a comment below.
Happy winterizing!